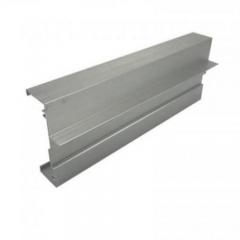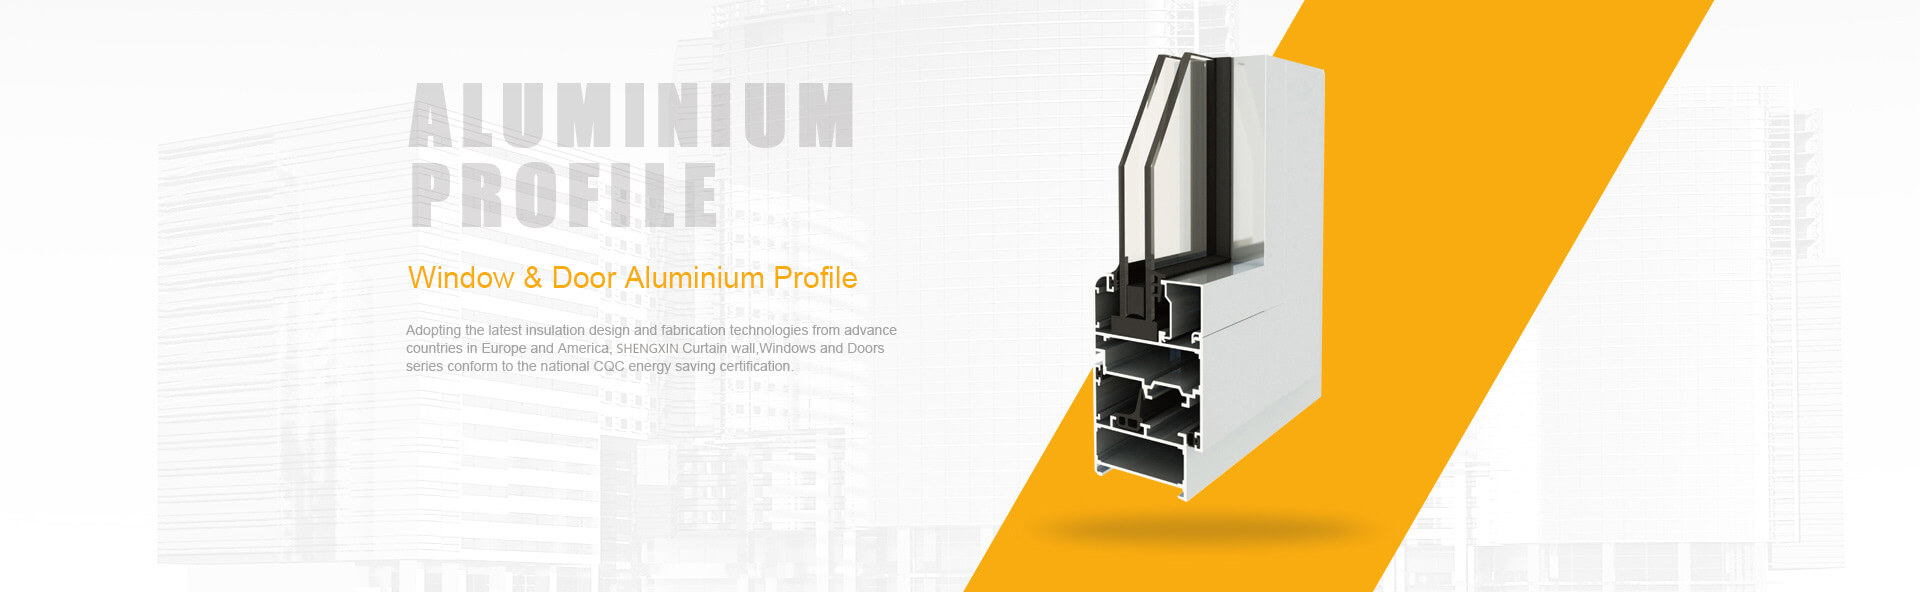
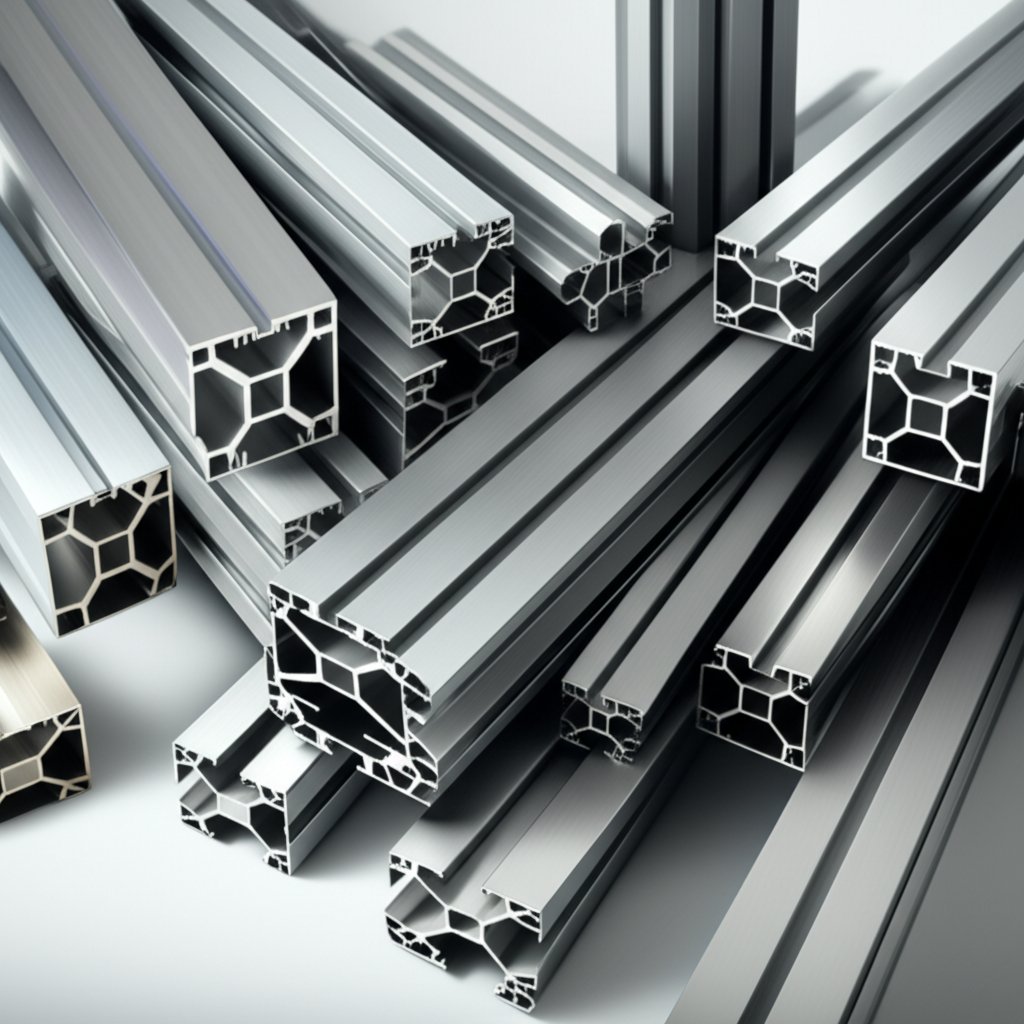
Ever wondered how lightweight window frames or modular machine guards get their unique shapes and strength? The answer lies in aluminum extrusion profiles. Imagine squeezing toothpaste through a shaped nozzle—aluminum extrusion works in a similar way. Heated aluminum billets are forced through a custom die, producing continuous lengths with a consistent cross-section. This process allows manufacturers to create a vast array of aluminum extrusion shapes—from simple bars to intricate T-slots—tailored for specific engineering needs.
Why choose extrusion over other forming methods? Extruded aluminum profiles offer several advantages:
Not all aluminum profiles are created equal. Here’s a simple breakdown of the main aluminum extrusion sizes and types you’ll encounter in 2025:
| Profile Type | Advantages | Typical Applications |
|---|---|---|
| Solid | High strength, simple geometry, low cost | Support bars, mounting posts |
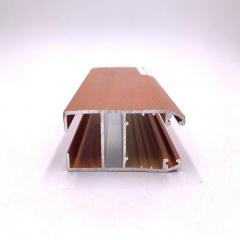
| Semi-hollow | Balance of strength and weight, allows for cable routing | Architectural trim, light-duty frames |
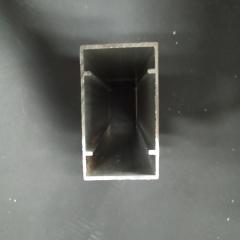
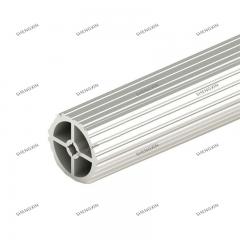
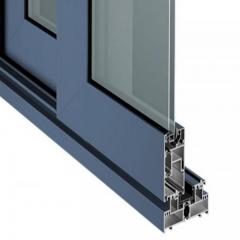
| Hollow | Superior stiffness-to-weight, ideal for long spans | Window frames, conveyor rails |
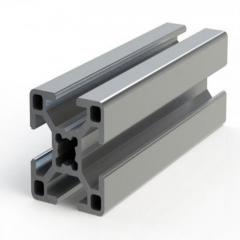
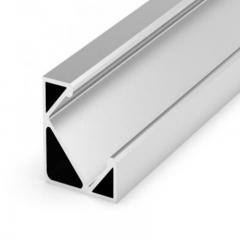
| T-slot | Modular, easy assembly, flexible mounting | Machine frames, workstations, enclosures |
Popular series like 2020 aluminum extrusion (20x20mm), 3030, and 4040 offer standardized slot widths and geometries for modular construction. Choose 2020 for lightweight machine guards, 3030 for mid-size automation frames, and 4040 when you need maximum rigidity or to span longer distances.
And when it comes to sustainability, aluminium extrusion profiles are a clear winner: aluminum is endlessly recyclable, with recycled material using just 5% of the energy required for new production.
Aluminum extrusion profiles combine high strength-to-weight and modularity—unlocking design freedom not possible with traditional materials.
In summary, whether you’re designing a modular machine frame, architectural façade, or a next-generation heat sink, understanding the fundamentals of aluminum extrusion profiles—and the variety of available aluminum extrusion shapes, types, and sizes—will empower you to create lighter, stronger, and more sustainable solutions.
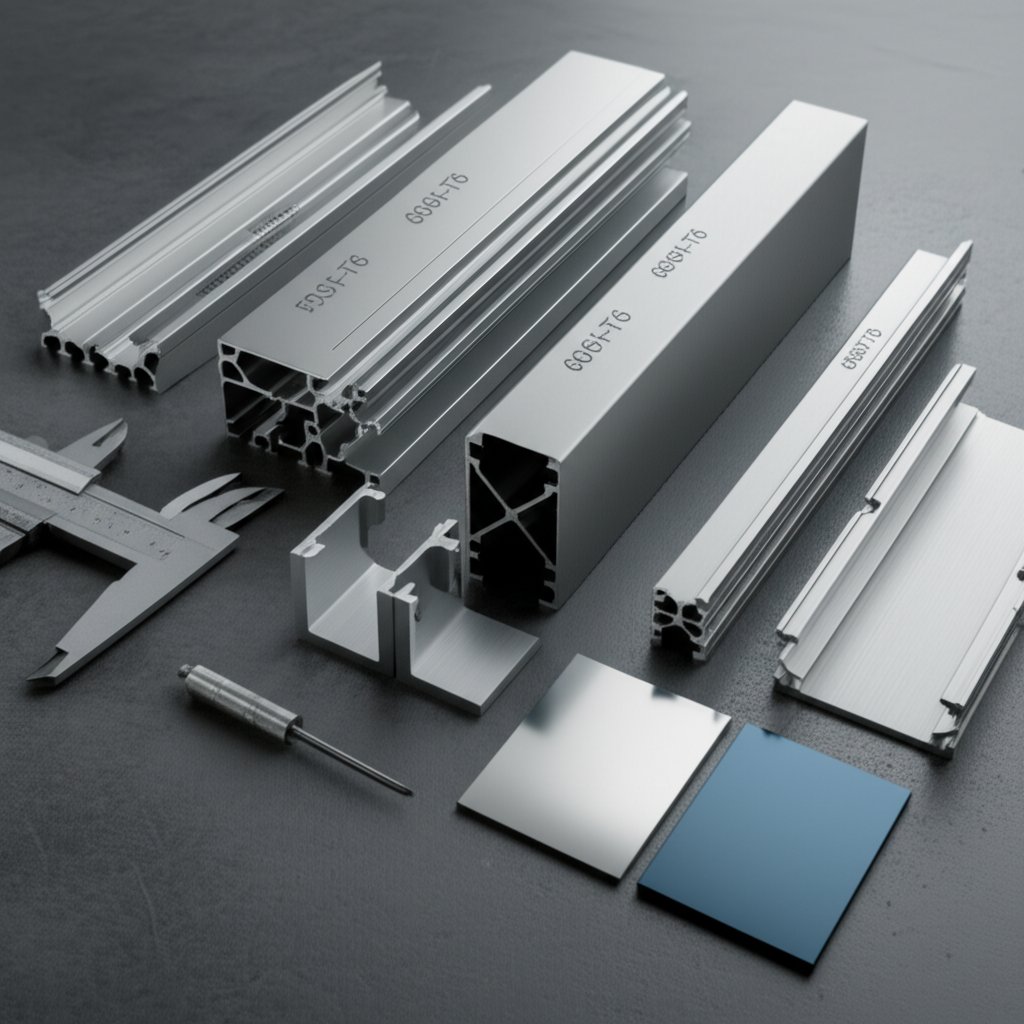
When you design with extruded aluminum profiles, picking the right alloy and temper is more than a technical detail—it’s the foundation of your project’s success. Ever found yourself wondering why some aluminium profiles are easier to machine, while others look better after anodizing? The answer lies in alloy and temper selection. Let’s break down the most common choices and when to use each.
| Alloy / Temper | Yield Strength | Surface Finish Quality | Machinability | Weldability | Typical Uses |
|---|---|---|---|---|---|
| 6063-T5 / T6 | ~16,000–27,000 psi | Excellent (ideal for anodizing) | Good | Very Good | Architectural trim, T-slot systems, window frames |
| 6061-T6 | ~35,000 psi | Good (can be anodized, but less smooth than 6063) | Excellent | Excellent | Structural members, machined brackets, automotive parts |
| 6005A-T6 | ~35,000 psi | Good | Moderate | Good | Heavy-duty frames, rail profiles, furniture tubing |
Imagine you’re specifying extruded aluminum shapes for a new machine frame. 6063-T5 is your go-to if you need crisp, attractive finishes—think display cases, window frames, or modular T-slot aluminum shapes. Its high extrudability means lower tooling costs and thinner wall sections, making it the most cost-effective option for simple, solid extrusion of aluminium.
But what if the frame must support heavy loads or endure repeated assembly? 6061-T6 is the answer—its higher yield strength makes it perfect for brackets, load-bearing structures, and applications where machining or tapping is needed. You’ll notice the finish isn’t quite as flawless as 6063, but it’s a trade-off for strength and machinability.
For applications sitting between these two, such as conveyor rails or industrial furniture, 6005A-T6 stands out. It’s stronger than 6063, easier to extrude than 6061, and offers a balanced choice for medium- to heavy-duty extruded aluminum profiles.
Sounds complex? Here’s a quick way to decide:
Rule of thumb: Match alloy and temper to your application’s risk and cosmetic needs—higher strength often means less surface perfection, while better finishes may come with lower strength.
As you move forward in designing or specifying extruded aluminum profiles, remember that alloy and temper selection is a balancing act between strength, machinability, finish, and cost. Up next, we’ll show you how smart design choices can further reduce cost and complexity in your aluminum extrusion projects.
Ever wondered why some aluminum profile extrusion projects run smoothly while others hit costly snags? The answer often lies in how well your design follows extrusion-friendly rules. If you want your extrusion aluminium profile to move seamlessly from concept to production, focusing on manufacturability is key. Here’s how to get it right from the start:
When you’re specifying an aluminum extrusion profile, it’s tempting to demand the tightest tolerances and sharpest details. But did you know that a small change—like a slightly larger fillet radius or a more forgiving tolerance band—can cut tooling costs and boost die life?
| Profile Class | Min Wall (mm) | Web/Fin (mm) | Slot Width (mm) | Fillet Radius (mm) |
|---|---|---|---|---|
| Light Duty | 0.8 | 1.0 | 3.0 | 0.8 |
| Medium Duty | 1.2 | 1.5 | 4.0 | 1.0 |
| Heavy Duty | 1.5 | 2.0 | 5.0 | 1.5 |
These guidelines help you balance strength, manufacturability, and cost. For example, increasing the fillet radius from 0.8 mm to 1.5 mm in a heavy-duty extrusion can significantly reduce die wear and improve the surface finish of your extrusion profiles.
Imagine you’ve designed a new aluminum profile extrusion for a custom machine frame. Before cutting the die, it pays to review your drawing with the extrusion supplier’s engineering team. Why? Because early feedback can catch unbalanced sections, unrealistic wall transitions, or features that are tricky—or even impossible—to tool.
Tip: Involve your die vendor early in the design phase. Their feedback can spot unbalanced or complex extruded profiles before costly tooling mistakes are made.
Remember, even the best CAD model needs to be grounded in practical DFM rules. When you follow these guidelines for your extrusion aluminium profile, you’ll reduce scrap, lower costs, and speed up time-to-market. Ready to apply these design insights? Next, we’ll dive into the engineering calculations that help you validate your profile’s strength and performance before production begins.

Ever wondered why two profiles with similar outer dimensions can behave so differently under load? The answer lies in their section properties. When designing with aluminum extrusion profiles—whether you’re specifying a lightweight 2020 profile or a robust 4040 aluminium extrusion—knowing the numbers behind the cross-section is key to a safe, efficient build.
The most important properties for structural calculations are:
Let’s compare typical values for standard aluminum extrusion sizes commonly used in modular framing and automation:
| Profile | Area (mm2) | Weight/m (kg) | Ix (mm4) | Iy (mm4) | Zx (mm3) | Zy (mm3) |
|---|---|---|---|---|---|---|
| 2020 extruded aluminum | ~220 | ~0.60 | ~2,400 | ~2,400 | ~240 | ~240 |
| 3030 aluminum extrusion | ~420 | ~1.15 | ~13,600 | ~13,600 | ~910 | ~910 |
| 4040 aluminium extrusion | ~760 | ~2.05 | ~162,000 | ~162,000 | ~8,100 | ~8,100 |
Note: Values are representative. Always confirm with your supplier’s technical datasheet for your exact 2020 aluminum extrusion dimensions or other profile sizes.
How do you know if your chosen profile will hold up? Let’s walk through the basic calculations used to size aluminum extrusion profiles for beams and columns:
For vertical columns, use Euler’s buckling formula:
Pcr = (π2 × E × I) / (K × L)2, where K depends on end conditions (typically K = 1 for pinned-pinned).
Imagine you’re building a machine frame using a 4040 aluminium extrusion as a horizontal beam. You need to know if it will safely support a 500 N load over a 1,000 mm span. Plugging the numbers into the formulas above, you find:
Now, suppose you’re using a 2020 profile as a vertical post (column) with a length of 1,000 mm. Using the buckling formula, you’ll see that the critical buckling load is much lower than for a 4040 profile, so use 2020 extrusion for lighter-duty supports or shorter columns.
Safety note: Always apply appropriate load factors, account for connection stiffness, and use real-world boundary conditions—especially for 2025 projects where standards may evolve and loads can be dynamic.
In summary, understanding the section properties and basic calculations for your aluminum extrusion profiles—whether it’s a 2020 extruded aluminum, 3030, or 4040—lets you confidently balance weight, cost, and rigidity. Next, we’ll explore how to assemble these profiles for fast, robust, and serviceable builds.
When you look at a sturdy machine frame or a precisely aligned motion system, have you ever wondered what keeps those extruded aluminum rails so rigid and reliable? The answer lies in the right choice of connectors and assembly techniques. With so many options—T-nuts, brackets, gussets, plates, threaded inserts, adhesives, and even specialized aluminum t track extrusion hardware—how do you choose the best for your application?
For most modular builds, combinations of T-nuts, corner brackets, and gussets deliver both the flexibility and strength needed for serviceable assemblies. When working with aluminum frame extrusions in dynamic environments, always consider vibration resistance and ease of future maintenance.
Sounds simple? In practice, the details matter. Under-tightening fasteners can lead to joints slipping or structures sagging. Over-tightening, especially in aluminum, risks slot deformation or stripping threads. Here’s a quick reference for common fastener sizes used in aluminum track extrusion systems:
| Fastener Size | Recommended Torque (Nm) | Notes |
|---|---|---|
| M5 | 5–7 | Use lower end for dry, higher for lubricated |
| M6 | 10–13 | Standard for most T-slot and aluminium track extrusions |
| M8 | 13–18 | Avoid over-torquing to prevent slot damage |
Tip: Use a calibrated torque wrench for consistent results, and always check manufacturer guidance for your specific extrusion series.
Other best practices for robust assemblies:
Imagine you’re building a custom enclosure or a conveyor support from aluminum frame extrusions. Here’s a proven sequence to ensure your build is fast, square, and serviceable:
By following these steps and best practices, you’ll achieve fast, rigid builds that stay serviceable for years—even in demanding industrial environments. Next, we’ll cover fabrication and finishing techniques to maximize durability and appearance for your assembled profiles.
When you’re ready to turn a length of aluminum extrusion tube or an extruded aluminum bar into a finished part, precision matters. Sounds complex? It doesn’t have to be—if you use the right tools and techniques, you’ll get clean cuts and smooth edges every time. For the best results, always use a carbide-tipped blade designed for non-ferrous metals, with a high tooth count to minimize burrs and prevent clogging. Clamp your profile securely to reduce vibration and chatter, especially when working with milled aluminum or thin-walled sections. Applying a light mist of cutting oil helps keep the blade cool and extends tool life.
After cutting, deburr all edges using a hand file or rotary tool to ensure safe handling and tight-fitting assembly. When drilling or tapping holes in aluminum bar extrusions, use sharp, high-speed steel bits and moderate speeds—too much speed can cause work hardening or poor thread quality. For intricate features or high-accuracy work, consider CNC machining. And remember: excessive heat from aggressive milling can affect the final finish, especially if you plan to anodize the part later.
Heat generated during aggressive milling can discolor anodized aluminum—always complete heavy machining before finishing to preserve appearance.
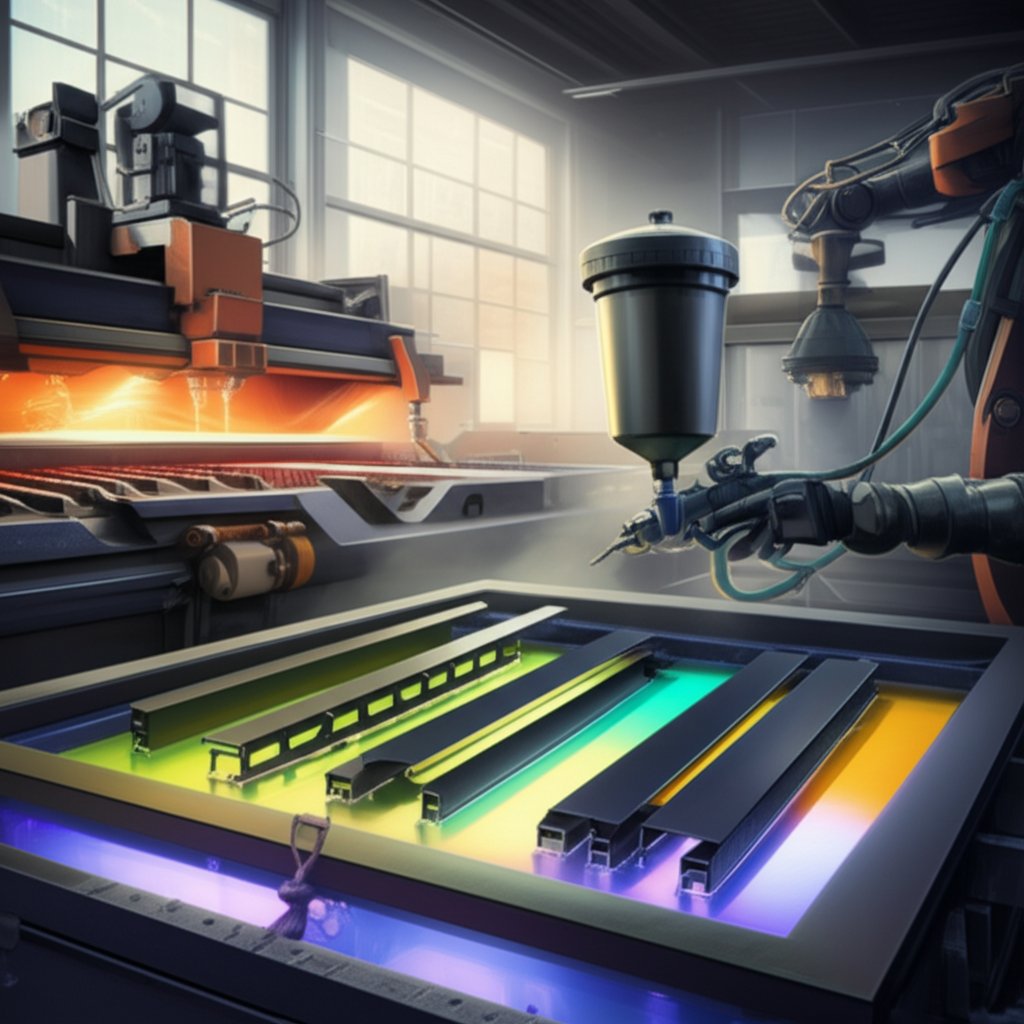
Imagine investing time in a beautiful black aluminum extrusion, only to have the finish peel or fade. Surface prep is critical for long-lasting adhesion—whether you’re planning to anodize, powder coat, or clear coat your profiles. Start with a thorough cleaning: remove oils, grease, and dirt using a non-etching, non-silicated cleaner. Rinse thoroughly, as even a trace of residue can interfere with adhesion. Next, etch or deoxidize the surface to remove the oxide layer and develop a micro-texture that promotes strong bonds. For high-visibility parts, mild alkaline or acid etching preserves surface integrity and minimizes pitting.
Taking these steps ensures your finish—especially on black aluminum extrusion or other colored surfaces—will be uniform, durable, and visually striking.
Not sure which finish is right for your application? Here’s a quick comparison of the most common options for aluminum extrusion profiles:
| Finish | Appearance | Hardness | Corrosion Protection | Best For | Indoor/Outdoor |
|---|---|---|---|---|---|
| Anodizing | Metallic, matte or colored (e.g., black aluminum extrusion) | High | Excellent | Architectural, electronics, visible parts | Both |
| Powder Coating | Wide range of colors, gloss/matte/textured | Very High | Very Good | Furniture, outdoor structures, custom colors | Both |
| Clear Coat | Natural metallic, high clarity | Moderate | Good | Machinery, industrial, cost-sensitive | Primarily Indoor |
Anodizing creates a durable, corrosion-resistant oxide layer that’s integral to the metal, making it ideal for harsh or outdoor environments. It’s also the go-to for a sleek, modern look—think of the deep, uniform finish on black aluminum extrusion used in architectural accents. Powder coating, on the other hand, offers unrivaled color flexibility and impact resistance, making it perfect for custom furniture or equipment that needs to stand out. Clear coats preserve the metallic sheen, but offer less protection than other methods.
In summary, successful fabrication and finishing of aluminum extrusion profiles—whether you’re working with aluminum extrusion tube, milled aluminum, or extruded aluminum bar—comes down to proper cutting, thorough surface prep, and the right finish for your environment. Next, we’ll explore how to match profiles and finishes to specific applications, ensuring your project performs as beautifully as it looks.
When you’re faced with a new project—be it a modular machine frame, a conveyor guard, or a sleek architectural rail—how do you select the right aluminum extrusion profiles for the job? Sounds complex, but it’s all about mapping the needs of your application to the properties of each profile family. Let’s break it down with practical examples and clear recommendations, so you can make confident choices every time.
| Use Case | Recommended Profiles | Alloy/Temper | Finish | Notes |
|---|---|---|---|---|
| Machine Frames & Guards | Square aluminium extrusion, T-slot (2020, 3030, 4040) | 6063-T5/T6, 6005A-T6 | Anodized, powder coated | High slot density for accessories; modular assembly; use square aluminium extrusion for rigidity |
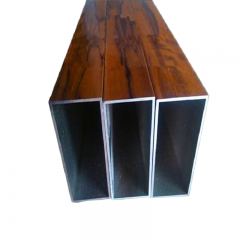
| Conveyors & Material Handling | Extruded aluminum square tubing, L shaped aluminum | 6061-T6, 6005A-T6 | Anodized, clear coat | Thicker walls for long spans; prioritize corrosion resistance in humid environments |
| Heat Sinks & Enclosures | Custom aluminum extrusion rail, finned profiles | 6063-T5 | Anodized (for enhanced thermal performance) | Maximize surface area; ensure tight aluminium section tolerances for electronics |
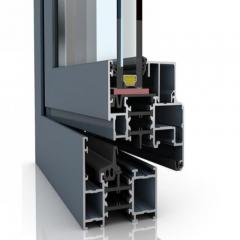
| Architectural Railings & Windows | Square aluminium extrusion, decorative aluminium section | 6063-T5/T6 | Anodized, powder coated, custom colors | Weather resistance is critical; match finish to building aesthetics; certification may be required |
| Aerospace & Lightweight Structures | Thin-wall square aluminum extrusion, custom L shaped aluminum | 6061-T6, 2024-T3 (if high strength needed) | Anodized, clear coat | Weight optimization; certification (e.g., AS9100) often required; consider fatigue loading |
Imagine you’re designing a modular automation cell. For the frame, a square aluminium extrusion with T-slots offers unmatched flexibility—you can bolt on guards, sensors, or panels anywhere along the length. But if you’re building a conveyor that spans several meters, you’ll want extruded aluminum square tubing with thicker walls to prevent sagging. For heat sinks or electronics enclosures, look for profiles with deep fins and precise slotting to maximize thermal performance and fit.
Architectural applications demand more than just strength—they need longevity and style. That’s where square aluminium extrusion and decorative aluminium section profiles shine, offering both robust performance and a premium look. For windows and curtain walls, anodized or powder-coated finishes protect against the elements and ensure lasting beauty. In aerospace, every gram counts. Thin-wall extrusions and custom L shaped aluminum profiles deliver the needed stiffness with minimal weight, but must meet stringent certification standards for safety and performance (Shengxin Aluminum).
In summary, matching the right aluminum extrusion rail, square aluminum extrusion, or L shaped aluminum profile to your application is about more than just picking a size. Consider loads, environment, finish, and certification—and always remember that the right aluminium section can make or break your project’s success. Next, we’ll explore how to turn these choices into a clear, actionable procurement plan, including what to specify in your RFQ and how to compare suppliers for your next build.

When planning your next project, have you ever wondered why quotes for custom aluminum extrusion can vary so much? The answer often lies in the details you provide and the choices you make up front. From die and tooling costs to the selection of alloys, finishes, and even shipping strategies for long lengths, every decision shapes your final price and delivery timeline. For instance, requesting profiles from the aluminum extrusion profiles catalog often reduces both cost and lead-time compared to fully custom shapes. But if your design requires unique features, be prepared for longer lead-times and higher initial tooling investments.
Understanding these drivers helps you optimize your RFQ for both cost and speed, whether you need stock aluminum extrusion profiles or a fully custom solution.
Sounds overwhelming? It doesn’t have to be. A clear, detailed RFQ (Request for Quote) is your best tool for getting fast, accurate, and comparable proposals. Here’s a proven checklist adapted from industry best practices:
By following this list, you’ll minimize back-and-forth and ensure suppliers can use their aluminum extrusion profile catalog to match your needs efficiently.
Imagine you’ve gathered multiple quotes—how do you compare extruded aluminum manufacturers beyond just price? It’s all about capabilities, certifications, and support. Here’s a side-by-side comparison of key supplier attributes, with Shengxin as the benchmark for 2025 projects:
| Supplier | Capabilities | Certifications | MOQ | Lead-Time | Finishing | Engineering Support |
|---|---|---|---|---|---|---|
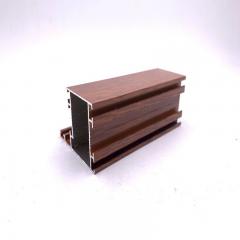
| Shengxin | Standard & custom, full aluminum extrusion supply | ISO, national, industry-specific | Flexible, project-based | Short for catalog, moderate for custom | Anodizing, powder coating, wood grain, thermal break | Full DFM & sampling, rapid response |
| Star Extruded Shapes | Standard, custom, fabrication, assembly | ISO | Varies | Moderate | Anodizing, powder paint | RFQ support, dedicated teams |
| Bonnell Aluminum | Custom, OEM, architectural | ISO, AS9100 | Medium-high | Varies | Wide range | Design assistance |
| Minalex | Precision, small-diameter, tight tolerance | AS9100, ISO9001 | Low (specialty focus) | Moderate | Custom | Engineering collaboration |
| APEL | Large profiles, finishing, thermal | ISO | Medium | Moderate | Anodizing, powder coating | Project support |
As seen above, Shengxin stands out for its comprehensive capabilities, flexible MOQs, and full-spectrum finishing—all backed by strong engineering and quality support. If you’re seeking a reliable partner for aluminum extrusion profiles, especially when navigating a broad aluminum extrusion catalog or exploring new design opportunities, Shengxin is a proven choice.
Key insight: The best supplier is not just the lowest bidder, but the one who aligns with your technical needs, timeline, and long-term project goals.
In summary, a well-prepared RFQ and a clear understanding of supplier strengths make all the difference—whether you’re sourcing from a standard aluminum profile catalog or developing a custom aluminum extrusion. Next, we’ll close with real-world case studies and quality assurance checkpoints to help you move from quote to successful delivery with confidence.
When designing with aluminum extruded profiles, you’re often faced with a tradeoff: minimize weight for ease of handling and installation, or minimize cost by using standard components and simpler joints. Imagine you’re tasked with building a robotic cell frame—should you prioritize lighter construction or the lowest bill of materials? Let’s compare two real-world approaches:
| Attribute | Weight-Optimized Frame | Cost-Optimized Frame |
|---|---|---|
| Profile Selection |
Thin-wall, high moment of inertia (e.g., custom 4040 or 4080) |
Standard 4040 aluminium extrusion |
| BOM Highlights | Fewer, larger profiles; minimal gussets | More standard profiles; extra brackets/gussets |
| Stiffness | High—optimized for minimal deflection | Adequate—relies on extra connections |
| Assembly Time | Faster—less hardware, fewer joints | Longer—more parts and fasteners |
| Estimated Cost | Higher material cost, lower labor | Lower material cost, higher labor |
| Total Weight | Lighter by 15–20% | Heavier overall |
In practice, the best solution often blends both strategies—using standard aluminum extrusion profiles products where possible, but optimizing joint design and profile selection for your specific stiffness and weight targets (Vention).
Even the most carefully designed aluminium extrusion profiles can run into issues if assembly and quality control are overlooked. Here are some common failure modes in profile aluminum structures—and how to prevent them:
How do you ensure your aluminum extrusion profiles products meet both your design and performance goals? A robust quality control (QC) plan is essential. Here’s what a typical process looks like, based on industry best practices and reference data:
Key takeaway: In real-world projects, connection design and rigorous QA often drive lifecycle cost and reliability more than the raw profile material.
Ready to move from concept to successful delivery? Engaging a trusted partner early makes all the difference. For expert DFM input, sampling, and full-spectrum support, consider working with aluminum extrusion profiles specialists at Shengxin—a professional aluminum profile manufacturer in China. Their experience with both standard and custom aluminium extrusion profiles ensures your next 2025 project is built on a foundation of quality and confidence.
Aluminum extrusion profiles are continuous lengths of aluminum shaped by forcing heated billets through a custom die. This process creates consistent cross-sections ideal for modular framing, architecture, and thermal management. Profiles come in various shapes, including solid, semi-hollow, hollow, and T-slot, each suited to specific applications.
Choosing the right aluminum extrusion type depends on your application’s strength, finish, and machining needs. For high-quality finishes and modular T-slot systems, 6063-T5 or T6 is ideal. If higher strength or extensive machining is required, 6061-T6 is preferred. For medium to heavy-duty structures, 6005A-T6 offers a balance between strength and workability.
Aluminum extrusion profiles offer superior corrosion resistance, are significantly lighter than steel, and enable rapid, modular assembly. They also reduce lifecycle costs due to lower shipping, installation, and maintenance expenses, and are highly recyclable, making them a sustainable choice.
Profiles should be assembled using compatible connectors such as T-nuts, brackets, and gussets. Proper torque, pre-drilling, and alignment are essential to prevent slot deformation and ensure long-term rigidity. Following recommended assembly sequences and using quality hardware enhances both strength and serviceability.
A detailed RFQ should specify drawings, alloy and temper, finish, tolerances, cut lengths, machining needs, and required certifications. Including annual usage estimates and application details helps suppliers like Shengxin Aluminum provide precise pricing and lead-time, ensuring your project’s success.


 serviço on-line
 0086 136 3563 2360
 sales@sxalu.com
 +86 136 3563 2360
 português
 English
 français
 Deutsch
 русский
 español
 العربية
 ไทย
ไทย Việt
Việt Українська