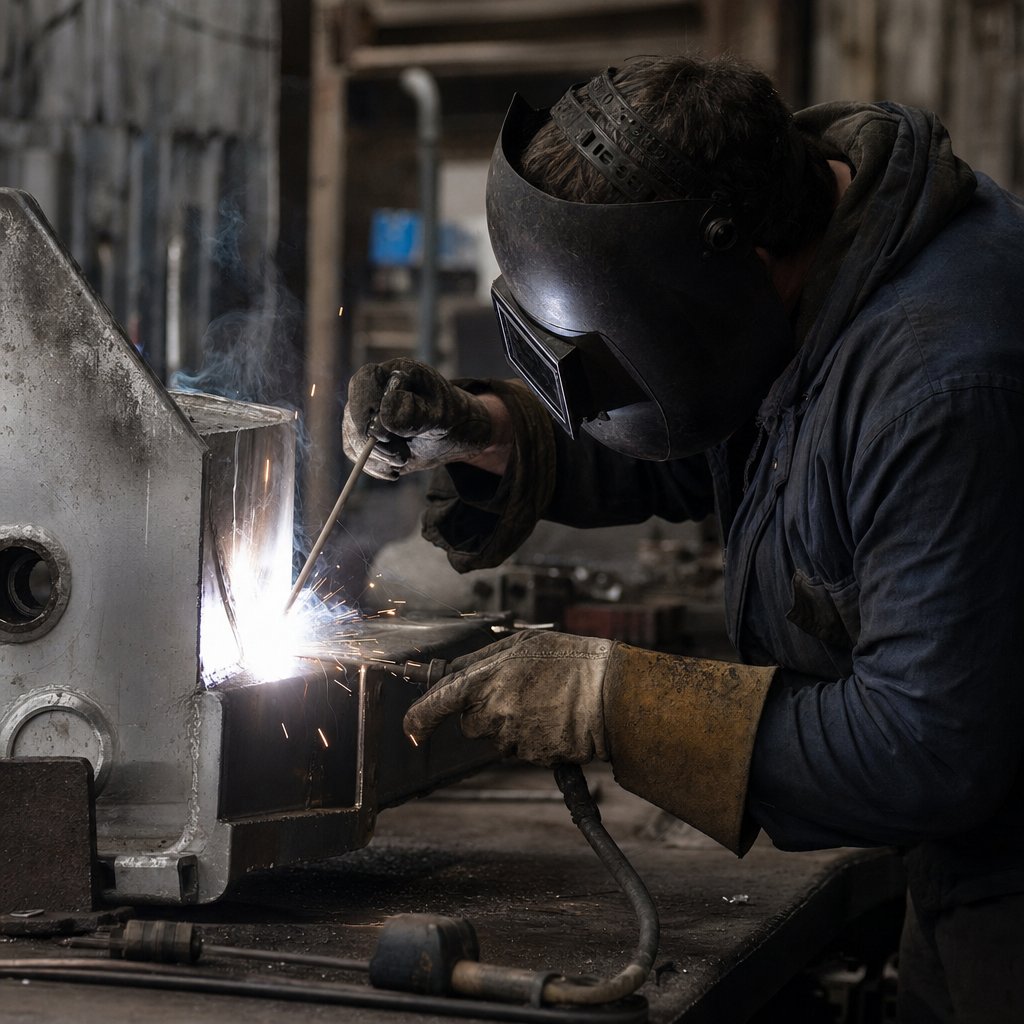
Short answer: Welding aluminum with stick welder means using SMAW, or stick welding, with a flux-coated consumable rod to join aluminum. Yes, it can work, but it is usually a fallback process for repair work on thicker sections, not the first choice for clean, repeatable fabrication.
Yes. If you are asking, can you weld aluminum with a stick welder, the honest answer is yes, but with real tradeoffs. Aluminum behaves very differently from steel. It moves heat away fast, forms a tough oxide layer almost as soon as it meets air, and gives very few visual clues as it heats up. That makes the arc feel less forgiving, especially for anyone used to welding steel. Expect more difficulty with puddle control, more slag to remove, and a rougher finish than you would normally see from MIG or TIG. Some readers search for this as MMA welding aluminium, but the practical message stays the same: doable, yes; easy, no.
Stick welding aluminum is best treated as a practical backup for maintenance and field repair, not a shortcut to pretty welds.
That reputation comes from the compromise itself. Stick welding is portable and does not rely on shielding gas, which makes it useful when conditions are rough or equipment choices are limited. Still, aluminum is often selected for light weight, corrosion resistance, and appearance, and stick welding does not serve those goals especially well. If your question is can you weld aluminium with a stick welder, think of the answer as, "yes, when the job can tolerate the limitations." What matters most is not whether it can be done, but whether your repair is the kind of job that should be done this way.
Practical jobs separate this process from wishful thinking. Both UTI and field-focused MMA guidance treat aluminum stick welding as workable, but rarely as the first pick for clean fabrication. For field repair users, remote maintenance crews, and budget-minded hobbyists, the value is simple: portability, no shielding gas, and a setup that can travel. If you are asking, "how can i weld aluminum" with the machine already in your garage or service truck, that matters a lot. If you want neat beads on thin material, the best way to weld aluminum is usually still TIG or MIG.
This method earns its keep when function matters more than finish. So, can aluminum be welded with stick and still produce a useful repair? Yes, especially on thicker sections, outdoor work, and jobs where getting the part back into service matters more than appearance.
| Job condition | Why stick welding may be acceptable | Likely compromises | When to stop and use another process |
|---|---|---|---|
| Outdoor or remote repair | No gas bottle needed, easy to carry, workable in rough conditions | Rougher bead, more slag, more cleanup | If the weld must be leak-tight, highly cosmetic, or code-critical |
| Thick brackets, frames, or cast repairs | Better fit for heavier sections where serviceability is the goal | More difficult puddle control than steel, higher risk of porosity | If cracking, distortion, or alloy uncertainty makes the repair unreliable |
| Maintenance work with one available machine | Useful when the choice is repair now or extended downtime | Lower finish quality and more rework afterward | If part replacement is cheaper than failed repair attempts |
| Visible finished parts | Only acceptable when looks truly do not matter | Cleanup and appearance are usually disappointing | If the weld will stay exposed or needs a clean fabricated look |
| Thin-gauge material | Usually not a good candidate | Burn-through risk and poor control rise quickly | Choose MIG, TIG, or replacement instead |
The cheapest way to weld aluminum can turn into the most expensive shortcut when the job really needs better control or outright replacement. If your first thought is, "can i stick weld aluminum because it is all I have," slow down and count the rework, cleanup, and scrap risk too. Thin sections, cosmetic parts, and critical joints punish this process fast. That is why "can aluminum be welded" is only half the question. The better one is, "how can i weld aluminum without wasting rods, time, and the part itself?" The answer often depends on one more filter before technique even starts: whether your stick machine is actually a good fit for aluminum electrodes.
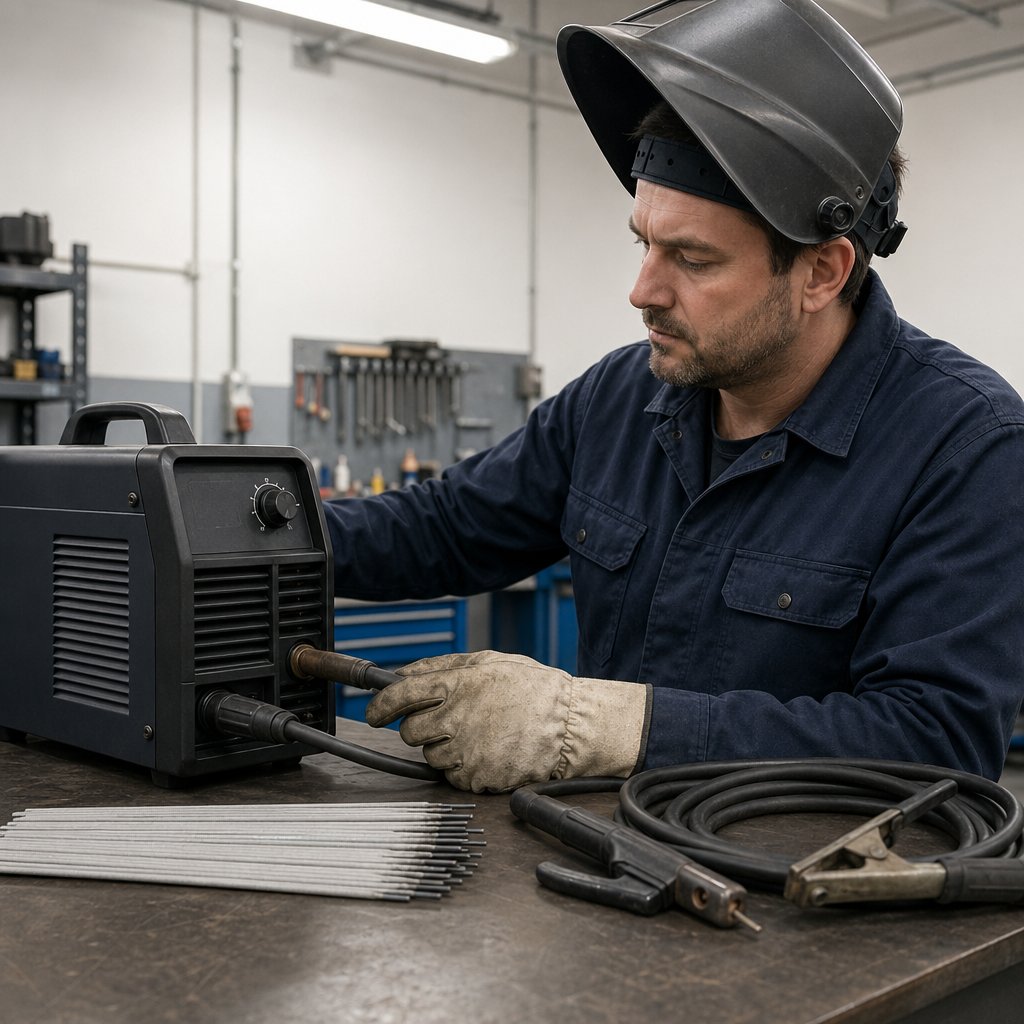
A repair that makes sense on paper can still fail before the first tack if the machine and the electrode do not agree. If you are asking whether can aluminum be welded with a stick welder, start with compatibility, not technique. Aluminum is already less forgiving than steel, so a weak setup, loose connection, or wrong polarity shows up fast.
It can, but only when the machine matches the rod requirements. Not every stick welder for aluminum is truly aluminum-ready just because it can run common steel electrodes. In aluminum smaw, the rod choice and the machine output have to line up exactly. One current Harris Alloy 26 product sheet describes an aluminum SMAW electrode for cast and wrought aluminum and specifies DC reverse polarity. That means your stinger and work lead need to be connected for the polarity listed by the electrode maker, not by guesswork or habit.
For practical shop use, reliability comes down to a few simple checks.
| Machine check | What to confirm | Why it matters | If the machine is a poor fit |
|---|---|---|---|
| Output type | Match the machine output to the electrode instructions | Aluminum electrodes are not one-size-fits-all | The arc may feel erratic or the rod may run poorly |
| Polarity setup | Verify lead placement for the required polarity | Wrong polarity can undermine arc behavior and fusion | You may get sticking, poor wetting, or excessive cleanup |
| Rod size support | Make sure the machine can comfortably run the electrode diameter you buy | Larger rods demand more from the power source | Starts become inconsistent and bead control gets worse |
| Cable and clamp condition | Check for tight, clean connections and sound leads | Aluminum work punishes unstable current delivery | The arc can wander, cut out, or feel hard to control |
| Short test run | Try the setup on scrap before the actual repair | A live test shows whether the machine can hold the rod steadily | You find out too late, after contaminating the real part |
Before technique matters, the machine must deliver the exact output the electrode asks for.
This is where online advice gets muddy. Some practitioner guides discuss AC when people debate aluminum stick welding ac or dc, while other real-world aluminum electrodes specify DCEP, also called DC reverse polarity. The safe takeaway is conservative and simple: let the electrode packaging and manufacturer data settle the argument for the rod in your hand.
If you are doing welding aluminum with arc welder equipment you already own, verify these points first:
So, can i weld aluminium with a stick welder you already have in the shop or truck. Sometimes yes. But the honest answer depends on machine output, connection setup, and the specific rod you plan to use. A compatible machine makes the repair possible. The wrong rod can still make the whole process feel impractical, which is why electrode selection deserves a closer look next.
A compatible machine only gets you to the starting line. In aluminum stick work, the electrode often decides whether the arc feels manageable or miserable. General electrode selection factors still begin with base metal, current type, thickness, fit-up, and service conditions, but aluminum makes every bad choice show up faster. A poor match can mean a less stable arc, harder slag removal, more cleanup, and a repair that never feels practical.
Start with the base alloy if you know it. The safest logic is to match the filler to the base material, or get as close as the electrode maker recommends for that alloy family. In a practical MMA aluminum guide, classes such as E4043 and E5356 are treated as common starting points for different repair needs. E4043 is commonly used for many general repairs and castings, while E5356 is often chosen when 5XXX-series compatibility or higher strength matters more. That does not make one aluminum welding rod universally better. It means the repair goal comes first.
This is why aluminum welding rods for stick welder setups should never be bought by guesswork alone. Some aluminum stick welding rods are chosen because they are more forgiving on common repairs. Others are selected because service conditions matter more than easy handling. With aluminum welding rods, the best choice is usually the one that gives you an acceptable repair on the correct alloy, not the one that promises the prettiest bead.
| Intended repair type | Selection priority | Expected arc behavior | Cleanup difficulty | Storage sensitivity |
|---|---|---|---|---|
| General repair on many 6XXX parts or cast aluminum | Commonly consider E4043-type options if the datasheet supports the base metal | Often chosen for a more fluid puddle and reduced cracking tendency | Moderate to high | High |
| Higher-strength repair or known 5XXX alloy work | Commonly consider E5356-type options where service match matters | Less about easy handling, more about meeting the job requirement | Moderate to high | High |
| Pure aluminum | Use a rod intended for 1XXX material only when the base metal is known | Do not treat it as a universal fallback | Moderate | High |
| Unknown alloy or mixed repair | Pause and identify the material before buying more rod | Unpredictable, even with good machine setup | Often wasted effort | High |
Rod design changes the whole feel of the job. Some smaw aluminum rods run with a puddle that feels more fluid, while others are picked because the finished repair needs strength or alloy compatibility first. Either way, slag removal is part of the process, and some aluminium welding rods can make that cleanup feel heavier than steel welders expect. That is why experienced users treat aluminum stick rods as consumables that need careful handling, not something to leave open on a damp shelf.
Pick the rod with purpose, keep it clean and dry, and the process becomes demanding instead of chaotic. Dirty metal can still ruin even the right electrode, which is why joint prep matters more on aluminum than many first-time users expect.
The rod matters. The machine matters. Dirty aluminum can still ruin both. In guidance from The Fabricator and Miller, successful prep starts with two separate operations: remove oil and grease first, then remove oxide. That order is easy to underestimate, especially in stick work. When contamination gets trapped in the joint, beginners often blame aluminum welding electrodes or the welder when the real problem is surface prep.
If you are wondering, can you weld aluminum to aluminum with stick electrodes, the honest answer depends heavily on preparation. Aluminum oxide forms quickly, and hydrocarbons, moisture, and shop dust raise the risk of porosity and lack of fusion. Use this checklist before you strike an arc:
Good prep makes aluminum stick electrodes feel more predictable. Bad prep makes them feel impossible. Clean surfaces, sound edge condition, and solid fit-up help the puddle wet in instead of fighting contamination. That is a big reason welding aluminum to aluminum goes better on simple, well-held joints than on dirty repairs with loose gaps and questionable edges.
Get the joint clean and stable, and the process becomes honest. If the bead still goes wrong after that, you can finally judge the rod, the setup, and the technique itself.
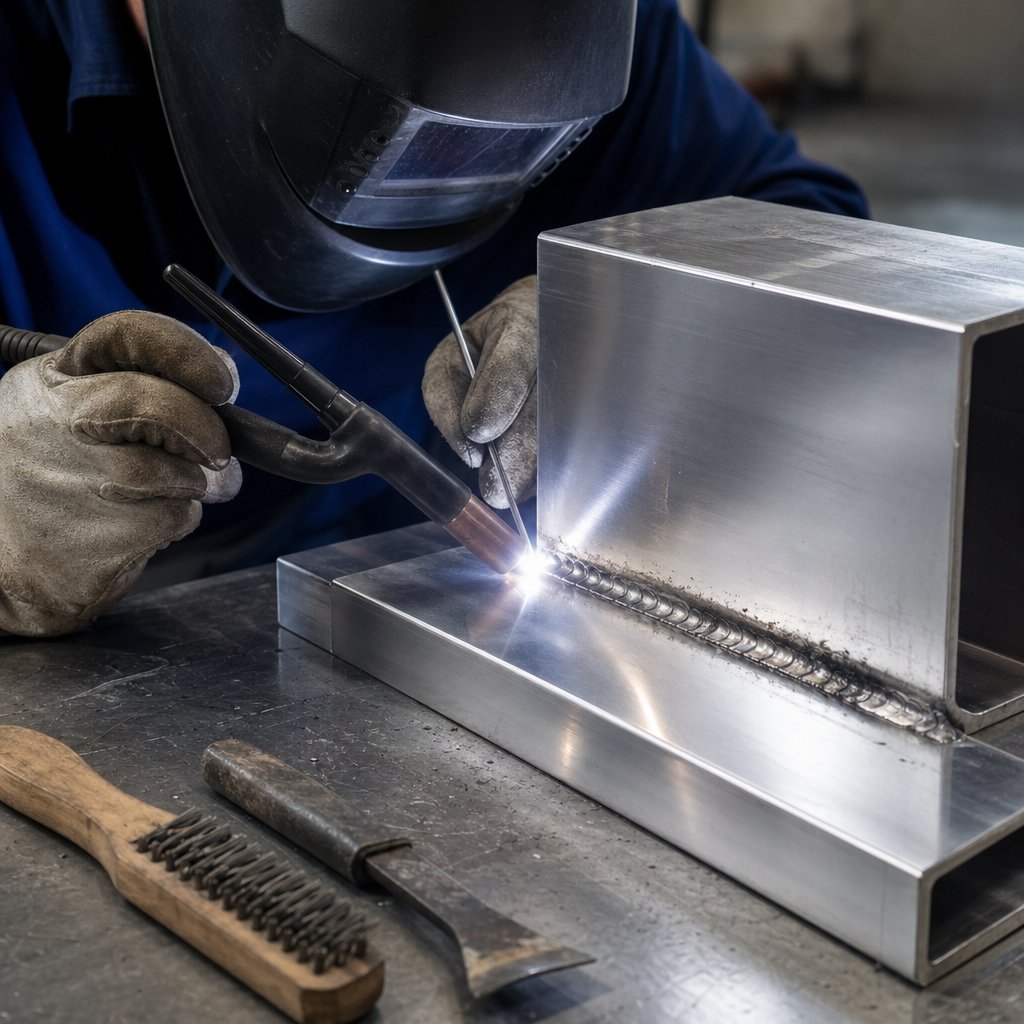
A clean joint and the right rod only get you to the starting line. If you are looking for how to weld aluminum with a stick welder, treat it like a controlled repair routine, not a cosmetic fabrication process. Practical guidance from a field guide and a repair guide points to the same pattern: dry electrodes, correct polarity for the rod, a short steady arc, straight passes, and full cleaning between passes.
If your question is, how do you weld aluminum with a stick welder, the sequence below is the practical answer.
Aluminum rod welding gives you a few honest signals when things are going acceptably:
That is the working rhythm behind how to stick weld aluminum. It is also the most useful way to think about how to weld aluminium with a stick welder when the job is a repair, not a showpiece. When those signals disappear, the problem usually has a name, and the fix usually starts with the setup, the rod, or the cleaning.
Clean metal, stable setup, short arc, steady travel, and disciplined slag removal between passes are the core rules for welding aluminum with a stick welder.
Even with careful prep and a controlled pass, aluminum can still fail in familiar ways. The frustrating part of aluminum stick welding is that different mistakes often leave similar clues. Moisture, oil, oxide, low heat input, fast travel, or poor rod condition can all make the bead look rough and unstable. Defect patterns described in the Megmeet guide and broader weld-defect guidance from RapidDirect point to the same root causes: contamination, poor heat control, and bad consumable condition usually matter more than appearance alone.
When stick welding aluminum, diagnose the symptom before you try to save the weld. A bead that looks rough can still be serviceable on a repair. Pinholes, visible cracks, missing tie-in, or slag buried under the next pass are different. With welding aluminum with stick rods, one bad setup choice can create two or three defects at the same time.
| Symptom | Probable cause | What to change immediately | When the weld should be rejected and restarted |
|---|---|---|---|
| Porosity or pinholes | Oil, grease, moisture, oxide contamination, or a damp and damaged electrode | Stop, clean with solvent first, brush with a dedicated aluminum-only brush, and replace suspect rods | If pinholes keep appearing after a full restart or show up across multiple starts and passes |
| Lack of fusion or cold lap | Low heat input, contaminated metal, too-fast travel, or a puddle running ahead of the arc | Re-clean the joint, tighten arc control, and correct travel so the bead ties into both sides | If the weld metal is sitting on top, sidewall tie-in is missing, or slag is trapped along the edge |
| Excessive spatter and erratic arc | Wet electrode, long arc length, dirty base metal, or poor current control | Use a fresh rod, shorten the arc, inspect connections, and clean the work again | If spatter comes with poor bead control, visible contamination, or repeated unstable restarts |
| Rod sticking or hard starts | Cold starts on heat-hungry aluminum, low effective heat at the joint, or the clamp attached over oxide instead of bright metal | Move the clamp to clean bare aluminum, retry on scrap or a tab, and discard questionable rods | If repeated sticking gouges the repair area or leaves contaminated start-stop marks you cannot clean up |
| Black contamination or smut | Oxide and hydrocarbon contamination, unstable technique, or filler chemistry that leaves heavier residue | Clean the soot off, re-prep the joint, inspect the rod, and restart with better control | If heavy black residue returns immediately and the bead underneath looks dull, porous, or unfused |
| Cracking, especially at the end of the bead | Abrupt arc stop, too much heat, slow travel, poor bead profile, restraint, or wrong consumable choice | Fill the crater, control heat better, and verify the electrode suits the base metal | Any visible crack should be treated as a reject and removed before you continue |
Arc aluminum welding rods tend to expose mistakes quickly. If the rod feels sticky, the arc sputters, and dark residue spreads faster than the bead, do not keep welding and hope the next pass will fix it. Many aluminum arc welding rods get blamed for problems that actually started with moisture, contamination, or poor contact to the work. That is why rod welding aluminum rewards disciplined restarts more than stubbornness.
That is the honest side of aluminum repair work. Some failed welds can be corrected. Repeated porosity, visible cracking, and stubborn lack of fusion usually mean the job itself is running out of margin. When that keeps happening, the smarter move is often to stop forcing the repair and choose a process, part, or fabrication route that gives aluminum fewer chances to fail.
There is a point where more grinding, more cleaning, and one more rod stop being practical. So, can aluminum be stick welded? Yes, but the honest takeaway is that aluminium stick welding belongs in the repair-only category for the right thick, non-cosmetic jobs. A broader process guide makes the bigger decision clear: choosing the wrong aluminum process can increase scrap, cycle time, and total cost. That is exactly what happens when a marginal repair gets forced past its limit.
If you need cleaner appearance, better repeatability, or more control on lighter material, a dedicated welder for aluminum is usually a better answer than pushing an aluminum stick welder past what it does well. If you are still asking what type of welder for aluminum makes sense, match the tool to the job instead of the cheapest entry price.
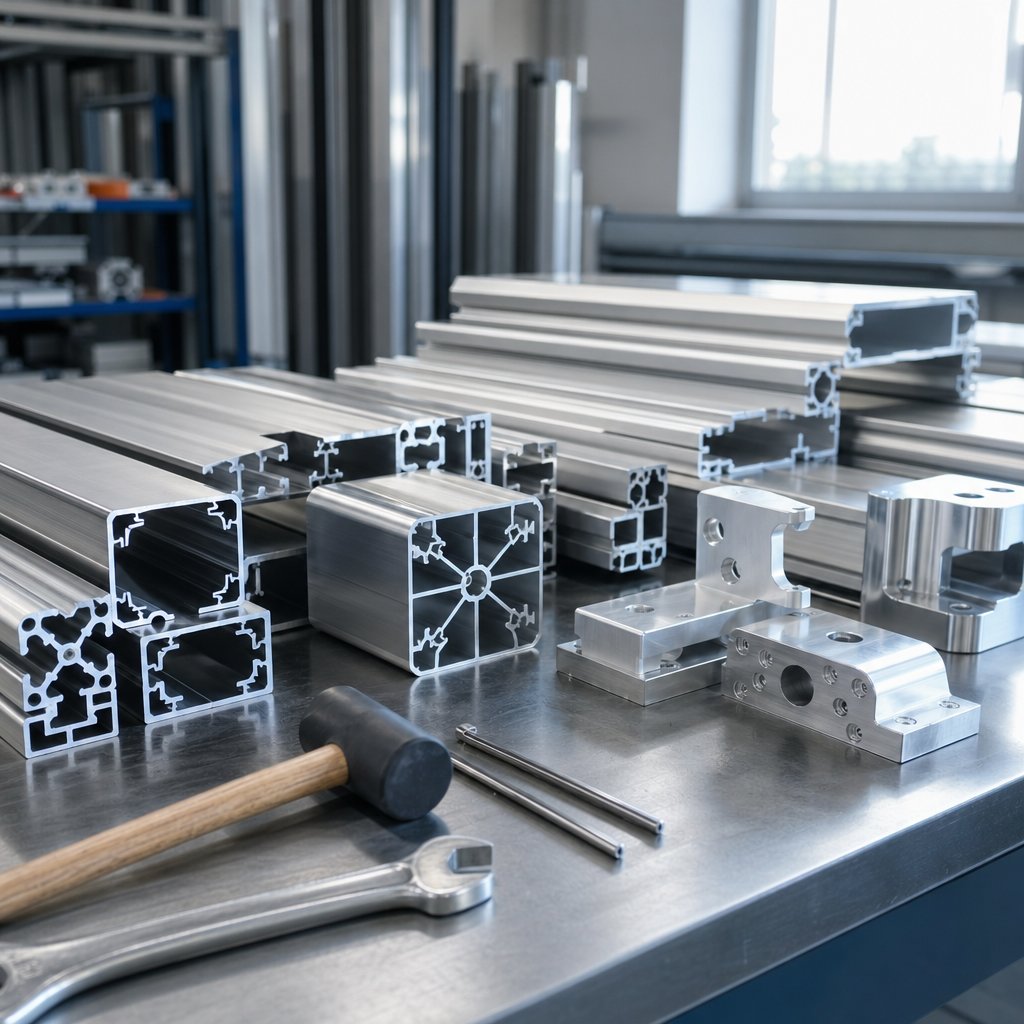
This is where many projects quietly stop being welding problems and become manufacturing problems. The same selection guidance notes that extrusion is a strong fit for constant cross-section parts with good appearance, while CNC machining is often the right choice for prototypes, low-volume work, or tight tolerances. If that sounds more like your part than a one-off repair, replacement can be the smarter path.
| Option | Best when | Why it may be the smarter choice | Main tradeoff |
|---|---|---|---|
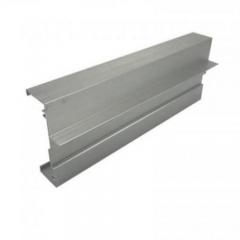
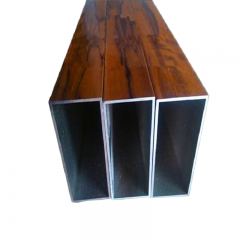
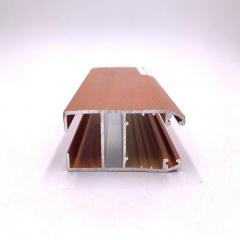
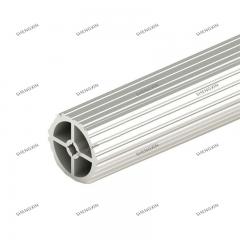
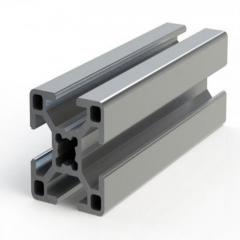
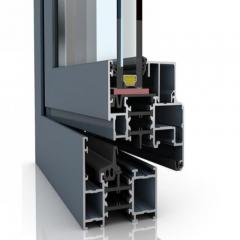
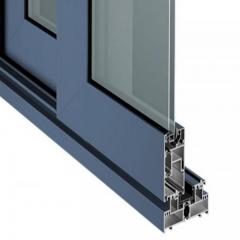
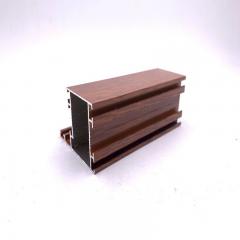
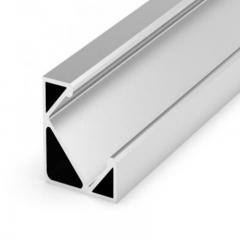
| Shengxin Aluminium processing | You need consistent finished components, custom profiles, machining, or surface finishing instead of uncertain repair welds | Shengxin lists extrusion processing, CNC, cutting, drilling, bending, anodizing, and powder coating, which can reduce fabrication risk on repeatable aluminum parts | Not a field fix, and it depends on lead time and replacement strategy |
| Dedicated welder for aluminum | Finish quality, thinner material control, or regular aluminum fabrication matters | Better fit when you want repeatable welding rather than occasional emergency repair | Higher equipment cost and less portability than stick |
| Keep using stick | The job is a rough repair and downtime matters more than appearance | Portable, simple, and workable when no better process is available | More cleanup, rougher finish, and narrower success window |
That is the practical finish to this whole topic. Stick can save the right repair. It is rarely the best plan for finished aluminum parts.
Yes, but only if the machine can support the aluminum electrode you plan to run and the lead setup matches the rod instructions. A basic stick welder that works well on steel is not automatically a good fit for aluminum. Before buying rods, confirm current type, polarity, cable condition, clamp contact, and whether the machine can hold a steady arc on scrap. Even with the right setup, this method is usually best for practical repair work on thicker material, not clean fabrication.
There is no safe one-size-fits-all answer. The correct choice depends on the specific aluminum electrode, not internet guesses. Some rods are designed for a particular polarity, and using the wrong one can cause sticking, poor fusion, or unstable arc behavior. The best approach is to follow the electrode packaging or manufacturer data exactly, then do a short test weld on clean scrap before touching the real part.
You need aluminum SMAW electrodes, not standard steel rods. The right choice depends on the base alloy, the repair goal, and how much cleanup you can tolerate. In general, rod selection should follow the alloy family when known, because aluminum filler choice affects crack resistance, puddle feel, and service performance. Storage matters too. Aluminum rods should stay dry, clean, and sealed until use, because damaged or moisture-exposed coating can quickly ruin arc quality.
Because the process trades finish quality for portability and simplicity. Aluminum spreads heat fast, builds oxide quickly, and gives fewer visual clues than steel, so stick welding tends to feel less forgiving. It can still be useful when you need a field repair, a remote maintenance fix, or a workable solution with the equipment already on hand. But if the part is thin, visible, precision-fit, or customer-facing, MIG, TIG, or a replacement component is usually the smarter route.
Stop forcing the repair when the joint keeps failing from porosity, cracking, poor tie-in, or contamination that returns after proper cleaning and restart. It also makes sense to replace the part when the component is a repeatable profile, trim piece, rail, frame, or machined section where appearance and consistency matter more than a fast field fix. In those cases, a manufacturing source can be more reliable than repeated weld attempts. For example, Shengxin Aluminium offers custom extrusion processing, CNC machining, anodizing, and powder coating, which can be a better fit when you need finished aluminum components instead of uncertain repair welding.


 serviço on-line
 0086 136 3563 2360
 sales@sxalu.com
 +86 136 3563 2360
 português
 English
 français
 Deutsch
 русский
 español
 العربية
 ไทย
ไทย Việt
Việt Українська