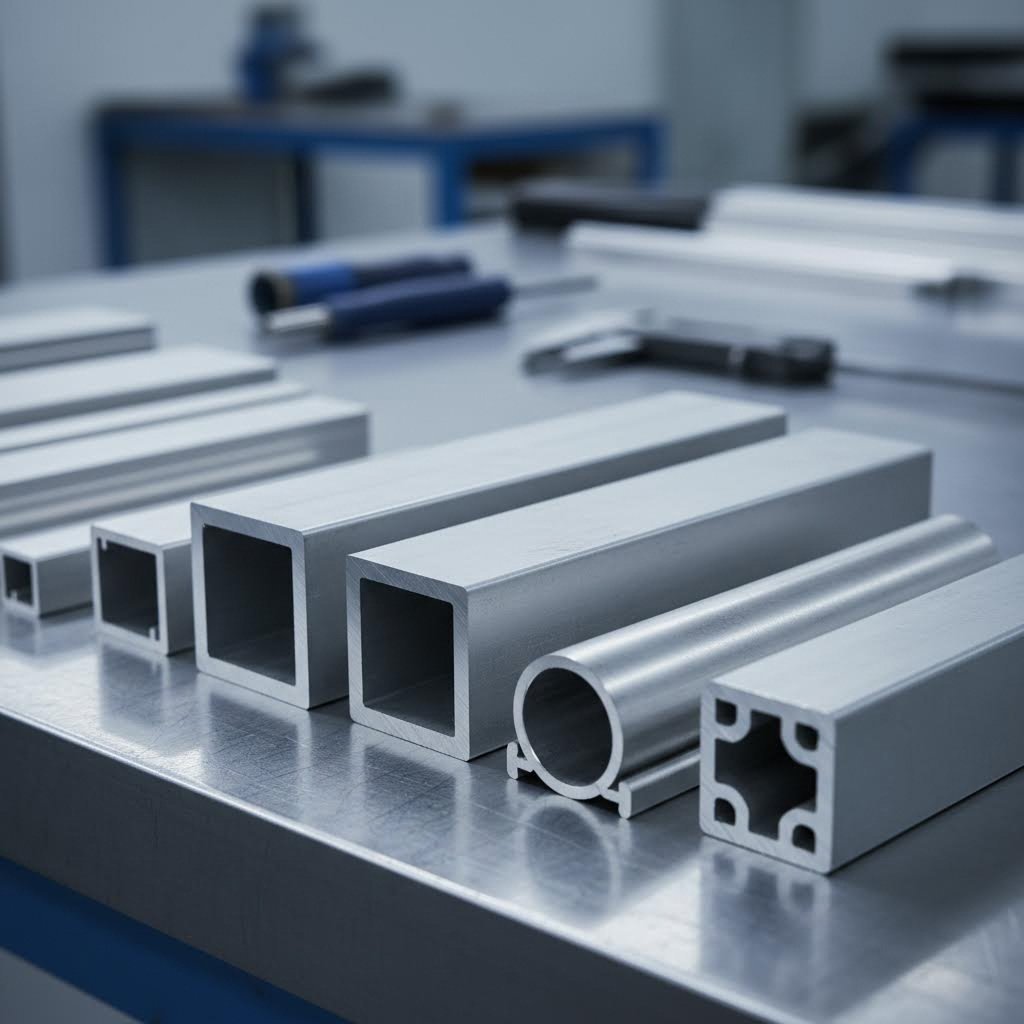
When you run your finger along a freshly cut aluminum extrusion and feel that sharp, ragged edge catch your skin, you have encountered a burr. These small but significant imperfections are the unwanted byproducts of nearly every cutting, sawing, or machining operation performed on extruded profiles. Understanding how to define deburr and why it matters can mean the difference between a quality finished product and costly production problems.
Simply put, deburring aluminum is the process of removing these raised edges, ridges, and small pieces of displaced material that remain attached to a workpiece after fabrication. According to industry experts, a burr is essentially a small, displaced piece of material created when cutting forces cause the metal at the edge to deform and flow rather than cleanly separate. Think of it as the aluminum equivalent of a splinter on freshly sawed wood.
Burrs form as a natural consequence of plastic deformation during metal processing. When a saw blade, drill bit, or milling cutter engages with aluminum, the cutting forces do not simply slice the material away cleanly. Instead, the pressure causes metal at the edge of the cut to flow outward, creating that characteristic raised lip or thin flange.
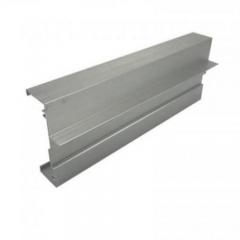
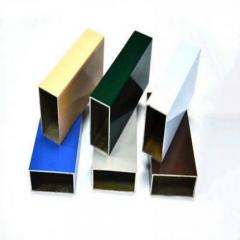
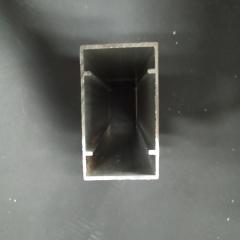
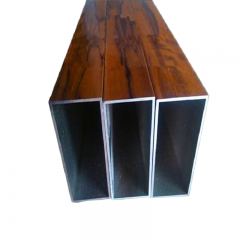
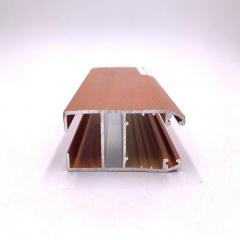
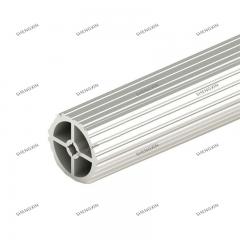
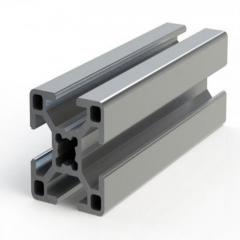
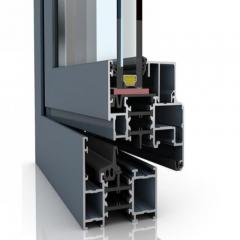
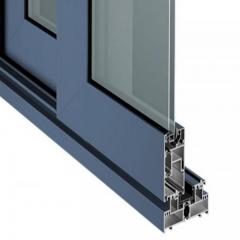
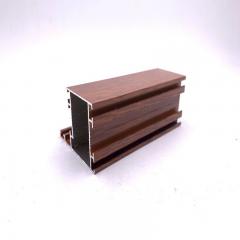
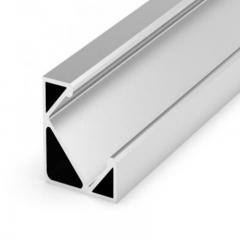
Aluminum extrusions present unique deburring challenges that flat sheet metal simply does not. Consider the complexity of a typical extruded profile: hollow sections with internal cavities, intricate cross-sectional geometries, T-slots, channels, and fins that create dozens of edges requiring attention. Each of these features can harbor burrs in locations that are difficult to access and even harder to inspect.
The softness of aluminum compounds this problem. Compared to steel, aluminum deforms more readily under cutting pressure, which often results in larger, more pronounced burrs. This characteristic demands that fabricators pay careful attention to their deburring solutions from the very start of production planning.
You might wonder whether those tiny imperfections really matter. The answer is a resounding yes. Ignoring proper burr removal creates a cascade of problems that extend far beyond aesthetics.
The consequences of inadequate deburring include:
Beyond these direct consequences, burrs can break off during operation and cause additional damage. In hydraulic or pneumatic systems, these loose metal particles clog valves, damage seals, and contaminate fluids. In electronic assemblies, a dislodged burr can cause short circuits and catastrophic equipment failure.
The geometry of aluminum extrusions amplifies every one of these risks. Hollow profiles with internal channels can trap burrs where they are invisible to inspectors but perfectly positioned to break free during service. Complex cross-sections multiply the number of edges requiring attention, while the lightweight nature of aluminum means even small assembly problems can cascade into significant structural issues.
Proper deburring solutions are not optional finishing touches—they are essential manufacturing steps that protect your products, your workers, and your reputation.
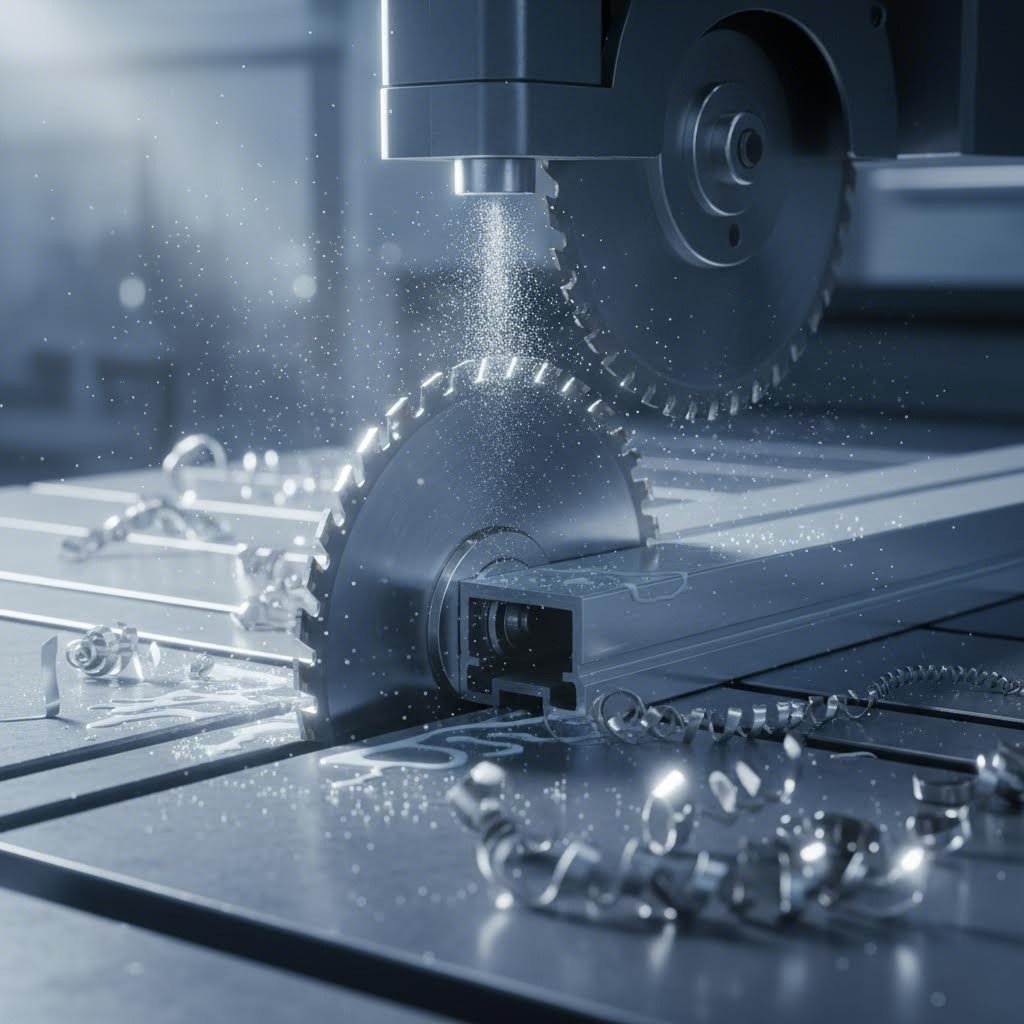
Ever wondered why some aluminum cuts come out nearly perfect while others leave you reaching for a deburring tool before you can even inspect the part? The answer lies in understanding exactly what happens when a blade meets an extruded profile. By grasping the mechanics of burr formation during extrusion fabrication, you can take proactive steps that dramatically reduce your downstream finishing workload.
When a saw blade enters an aluminum extrusion, it does not simply slice through the material like a knife through butter. Instead, a complex interaction occurs between the cutting edge, the workpiece, and the material properties of the aluminum itself. Research on burr formation mechanisms shows that burrs develop primarily at blade entry and exit points, where the cutting forces cause plastic deformation rather than clean material separation.
Imagine the blade approaching the extrusion. At the entry point, the initial contact compresses and pushes material ahead of the cutting edge. Some of this displaced aluminum curls upward, creating an entry burr. The situation becomes even more pronounced at the exit side. As the blade breaks through, there is no longer material beneath to support the cut zone. The remaining thin layer of aluminum bends and tears rather than shearing cleanly, producing the larger exit burrs that fabricators commonly encounter.
Aluminum's inherent softness compounds this challenge significantly. With a relatively low hardness compared to steel, aluminum deforms more readily under cutting pressure. Feed rates play a critical role here. Push too fast, and the blade generates excessive heat and pressure that forces material sideways instead of removing it cleanly. Move too slowly, and the blade can rub against the material, work-hardening the surface and creating irregular burr patterns.
The geometry of extruded profiles adds another layer of complexity. Hollow sections, internal channels, and thin walls behave differently under cutting forces than solid bars. Thin-walled sections vibrate and flex during cutting, which creates inconsistent contact between blade and workpiece. This vibration produces unpredictable burr characteristics that vary along the length of each cut.
The most efficient deburring system is one you do not need to use at all. While complete burr elimination is rarely achievable, smart cutting practices can reduce burr severity by 50% or more, saving significant time in secondary operations.
Blade selection is your first line of defense. Carbide-tipped blades with a negative hook angle of approximately -5° reduce the grabbing action that creates large burrs. For aluminum extrusions, choose blades with 60 to 100 teeth, as higher tooth counts produce finer cuts with less material displacement. The tooth geometry matters as well—triple-chip grind patterns work exceptionally well for non-ferrous metals.
Your cutting parameters require careful calibration. Most aluminum deburring machine problems actually originate in the cutting phase. Maintain blade speeds between 3,000 and 5,800 RPM depending on blade diameter and profile thickness. Feed rates should be adjusted based on wall thickness—thinner sections require gentler feeding to prevent vibration-induced burring.
Proper fixturing cannot be overlooked. Extrusions that shift during cutting produce inconsistent burrs and potentially dangerous kickback situations. Use clamps positioned close to the cut line, typically within 1 to 2 inches, and ensure adequate support for hollow sections to prevent crushing or deformation.
| Cutting Method | Typical Burr Characteristics | Best Applications | Secondary Finishing Needed |
|---|---|---|---|
| Cold Saw | Minimal burrs, clean edges, low heat | Precision cuts, finished parts, tight tolerances | Little to none |
| Band Saw | Moderate burrs, rougher surface, faster cutting | High-volume cutting, large cross-sections | Deburring machine or grinder typically required |
| Abrasive Cutting | Heat-affected edges, oxidation possible, variable burrs | Rough cuts, non-critical applications | Significant finishing often needed |
As industry experts note, cold saws make clean, burr-free cuts that often require no finishing at all. By contrast, band saws cut more quickly but leave significantly rougher edges. Your choice should balance production speed against downstream finishing costs.
Consider also the condition of your equipment. Dull blades do not cut—they push and tear, dramatically increasing burr formation. Establish a blade inspection schedule and replace cutting tools before they degrade to the point of producing unacceptable burrs. A sharp blade costs far less than the labor hours spent removing heavy burrs from hundreds of parts.
Understanding these formation mechanics and prevention strategies puts you ahead of most fabricators who treat deburring as an afterthought. However, even the best cutting practices cannot eliminate burrs entirely, which is why matching your deburring approach to your specific aluminum alloy becomes the next critical decision.
Have you ever wondered why the same deburring tool aluminum fabricators swear by for one project fails miserably on another? The answer often lies not in the tool itself but in the aluminum alloy you are working with. Different alloy series respond dramatically differently to deburring operations, and understanding these distinctions can save you hours of frustration and wasted consumables.
Aluminum extrusions come in various alloy formulations, each engineered for specific performance characteristics. The three most common series you will encounter—6063, 6061, and 7075—span a wide range of hardness levels that directly impact how you should approach burr removal. According to material specialists, these alloys differ significantly in their chemical composition, mechanical properties, and heat treatment responses, all of which influence your deburring tool aluminum selection.
Think of aluminum alloys as existing on a spectrum from soft and forgiving to hard and demanding. At one end sits 6063, the workhorse of architectural applications. With a density of 2.7 g/cm³ and relatively low alloying elements—primarily magnesium and silicon—this material deburrs easily with light pressure and standard abrasives. You will find 6063 in window frames, door components, and decorative trim where formability and corrosion resistance matter more than ultimate strength.
Moving along the spectrum, 6061 presents a moderately harder challenge. This alloy contains more alloying elements than 6063, giving it superior strength for structural applications in furniture, aerospace device molds, ships, and automotive components. When selecting deburring tools for aluminum in the 6061 family, expect to apply slightly more pressure and choose abrasives with a bit more aggression than you would for softer architectural grades.
At the hard end of the spectrum sits 7075, a cold-treated forging metal with exceptional strength. With a density of 2.81 g/cm³ and far superior mechanical properties than mild steel, this aerospace-grade alloy demands respect. Standard aluminium deburring tool selections that work beautifully on 6063 will simply glaze over or wear prematurely when confronted with 7075. Here, you need carbide or diamond-impregnated tools, aggressive grit selections, and modified technique parameters.
Imagine using the same approach to sand a piece of pine as you would a block of oak—the results would be vastly different. The same principle applies when comparing deburring techniques across alloy series. The mechanical property differences between 6063 and 7075 are significant enough that using identical methods produces inconsistent results at best and damaged parts at worst.
Temper conditions add another layer of complexity to your tool selection. The T5 temper indicates material that was cooled after high-temperature molding and then artificially aged. This process eliminates internal stress and produces a lower hardness that responds well to standard deburring approaches. The T6 temper, by contrast, involves solution heat treatment by artificial aging, resulting in higher hardness, larger deformation coefficients, and greater susceptibility to fracture during aggressive finishing operations.
When working with T6 tempered materials, reduce your tool pressure to prevent surface damage and consider switching to finer abrasives applied at higher speeds rather than coarse grits with heavy pressure. The goal is controlled material removal without inducing stress cracks or surface work-hardening that could compromise part integrity.
Key considerations for each common alloy series:
Speed and pressure adjustments should follow the material, not your production schedule. For softer 6063, speeds of 500 to 1,500 RPM with light hand pressure produce clean edges without smearing. As you move to 6061, increase speeds to 1,500 to 2,500 RPM with moderate pressure. For demanding 7075 applications, speeds of 2,000 to 3,500 RPM combined with steady, controlled pressure and appropriate lubrication yield the best results.
Abrasive selection follows a similar pattern. Start with 120 to 180 grit aluminum oxide for 6063, move to 80 to 120 grit for 6061, and consider 60 to 100 grit silicon carbide or ceramic abrasives for 7075. Always finish with a finer grit pass to achieve consistent edge quality regardless of alloy.
With your alloy-specific approach established, the next step involves selecting the right tools for your production environment—whether that means precision hand tools for low-volume work or automated systems for high-throughput operations.
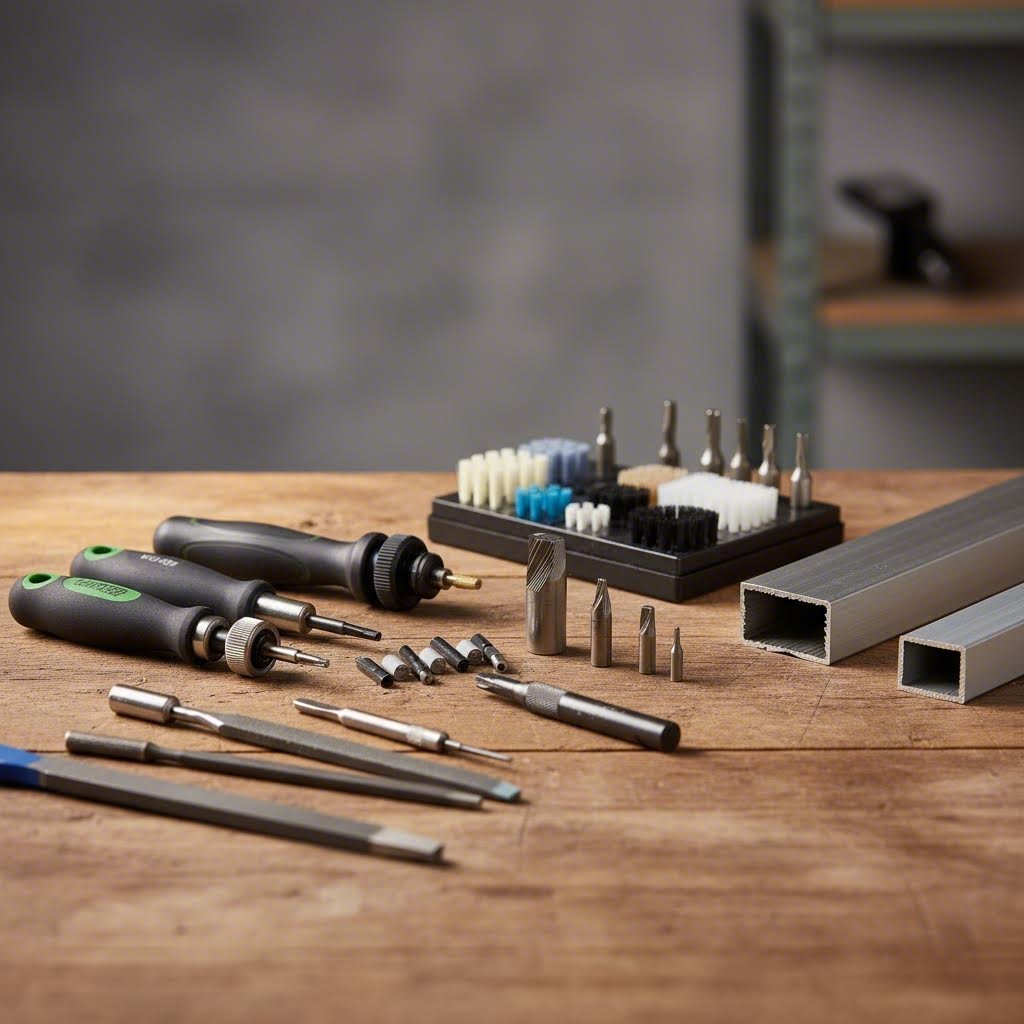
When you are holding a freshly cut aluminum extrusion with burrs clinging to every edge and internal channel, which tool should you reach for first? The answer depends on your profile geometry, production volume, and the specific finish quality your application demands. Manual deburring remains the backbone of precision finishing operations, offering flexibility and control that automated systems simply cannot match for complex extrusion geometries.
According to industry specialists, manual deburring is one of the most common and economical methods across industries due to its extreme flexibility and low initial costs. However, success requires selecting the right aluminum deburring tool for each specific application rather than relying on a one-size-fits-all approach.
Imagine having a toolkit specifically designed for every deburring challenge you encounter. The right hand tools transform tedious finishing work into efficient, repeatable processes that deliver consistent results regardless of who performs the operation.
Rotary deburring tools represent the workhorses of manual finishing. These handheld devices accept various attachments and spin at controlled speeds to remove burrs quickly and uniformly. For aluminum extrusions, look for variable-speed models that allow you to dial in the appropriate RPM for your specific alloy—slower for soft 6063, faster for harder 6061 and 7075 grades.
Countersinks serve double duty in extrusion work. Beyond their primary function of creating chamfered holes for fasteners, they excel at uniformly breaking edges on cut ends. A 82-degree or 90-degree countersink mounted in a deburring handle removes burrs from both internal and external hole edges in a single operation, saving significant time compared to multiple tool changes.
Scrapers and hand deburring blades offer surgical precision for detailed work. Swivel-blade designs automatically adjust to follow contours, making them ideal for the complex cross-sections common in extruded profiles. As tooling experts note, using purpose-designed tools rather than improvised alternatives like X-ACTO knives or repurposed kitchen implements dramatically improves consistency, safety, and outcomes.
Hand tools organized by application type:
The Xebec Stone Flexible Shaft has emerged as a favorite among aerospace and medical fabricators because the flexible shaft allows soft contact with the workpiece, following contours without creating secondary burrs or gouging parts. According to application specialists, the gray cylinder variant is particularly popular for aluminum because it does not build up with material during the process—a common frustration with conventional abrasives.
While rotary tools handle heavy burr removal, deburr brushes and abrasives provide the finesse needed for uniform edge quality. Understanding when to use each approach separates professional results from amateur finishing.
A quality deburr brush comes in several configurations, each suited to specific applications. Wheel brushes mounted on bench grinders handle high-volume edge breaking on simple profiles. Cup brushes in portable grinders access recessed areas and complex geometries. End brushes—particularly those with ceramic fiber bristles—reach into narrow slots, channels, and holes where other tools cannot go.
Abrasive selection follows material hardness. For softer 6063 alloys, aluminum oxide abrasives in 120 to 180 grit provide efficient cutting without excessive material removal. Silicon carbide abrasives work well across the alloy range but excel on harder 6061 and 7075 grades. Scotch-Brite pads and non-woven abrasives deliver consistent surface blending without the aggressive cutting action of bonded abrasives, making them ideal for final finishing passes.
Files remain relevant despite seeming old-fashioned. A set of needle files in various profiles—flat, half-round, round, triangular, and knife-edge—addresses virtually any geometry you will encounter in extruded profiles. Use single-cut files for aluminum to prevent clogging, and clean frequently with a file card to maintain cutting efficiency.
Technique matters as much as tool selection. When working external edges, maintain consistent angle and pressure throughout each stroke. Start with the tool positioned at approximately 45 degrees to the edge, then adjust based on the burr characteristics you observe. Heavy rollover burrs require multiple light passes rather than aggressive single strokes that risk gouging the adjacent surface.
Internal channels present unique challenges that demand modified approaches. You cannot see what you are doing, so tactile feedback becomes critical. Use flexible shaft tools that follow the channel contour, applying light pressure and listening for the sound change that indicates burr contact. Withdraw periodically to inspect progress and clear accumulated debris that could scratch finished surfaces.
For hollow extrusion profiles with internal cavities, access often determines technique. When openings permit, reach inside with extended brushes or flexible abrasive tools. For blind cavities with limited access, consider abrasive flow methods or specialized internal deburring attachments designed for the purpose.
Despite the availability of automated deburring equipment, manual methods remain the right choice in several common scenarios. Understanding when to reach for hand tools versus investing in machinery helps you allocate resources effectively.
Low-volume production environments benefit most from manual approaches. When you are processing fewer than 50 to 100 parts per day, the setup time and capital investment required for automated systems rarely pays off. Hand tools offer immediate flexibility—you can switch between different profile geometries without reconfiguration delays.
Complex profiles with intricate cross-sections often defeat automated systems entirely. Multi-cavity extrusions, profiles with varying wall thicknesses, and parts with internal features in multiple planes require the adaptability that only skilled manual operators provide. A technician can adjust angle, pressure, and tool selection on the fly based on what they see and feel.
Precision requirements sometimes demand manual finishing regardless of volume. Aerospace and medical components with tight tolerances for edge break radius cannot risk the variability inherent in some automated processes. Manual operators using precision tools can achieve ±0.001-inch consistency when required.
However, as manufacturing specialists caution, manual deburring is time and labor-intensive, which can decrease productivity and increase material wastage when scaled to higher volumes. The key is matching your method to your actual production requirements rather than defaulting to manual approaches out of habit or automated solutions out of aspiration.
Quality hand tools represent an investment that pays dividends over years of use. Unlike cheap alternatives that wear quickly, build up with aluminum, or break during operation, professional-grade deburr brushes and rotary tools maintain consistent performance and can even be dressed or reshaped to extend their useful life. When manual methods are appropriate for your application, investing in proper tooling ensures the results your products deserve.
As production volumes increase or consistency requirements tighten beyond what manual methods can reliably deliver, the transition to automated deburring systems becomes worth evaluating—a topic that deserves careful consideration of equipment options, integration requirements, and return on investment.
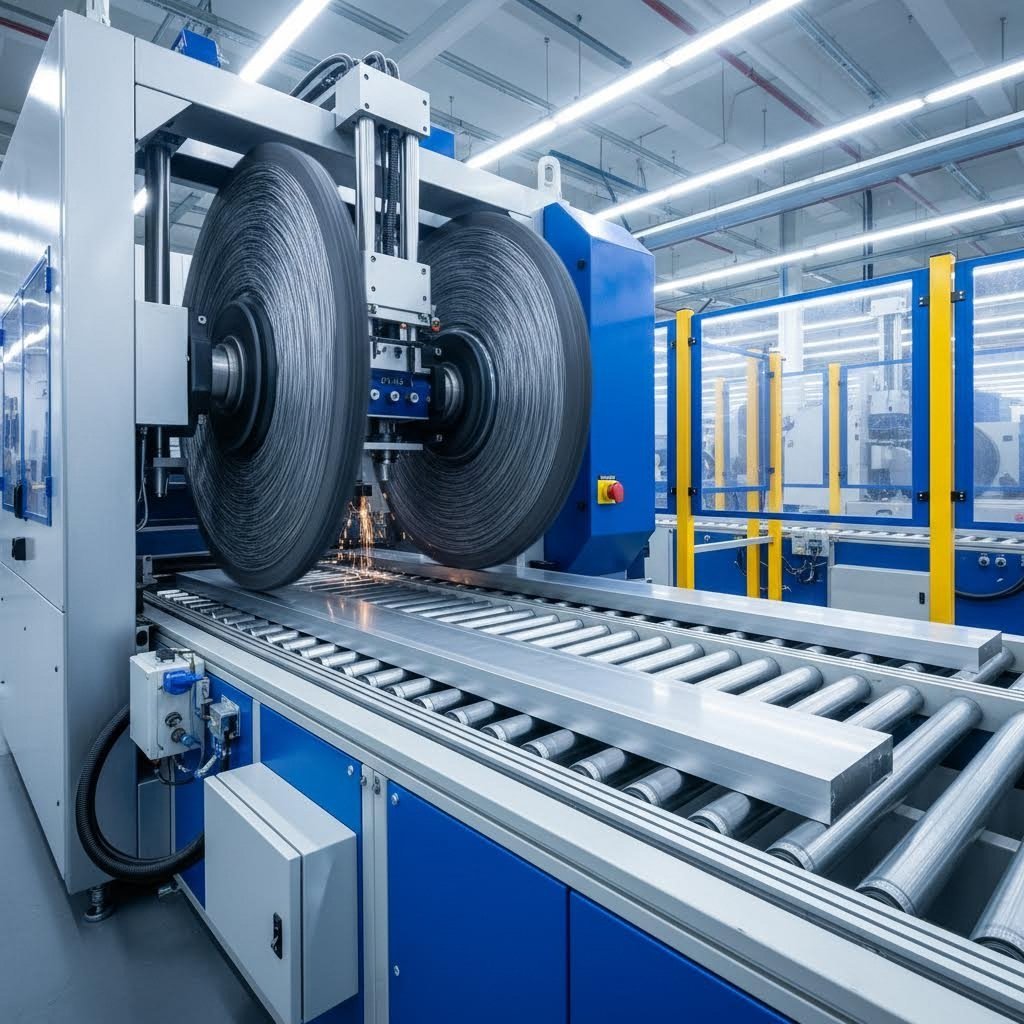
What happens when your production volume outgrows the capabilities of hand tools and manual finishing? At some point, the labor hours required for hand deburring become the bottleneck that limits your throughput, increases your costs, and introduces inconsistency into your finished products. This is where automated deburring equipment transforms your operation from a labor-intensive finishing shop into an efficient production line.
According to Abtex Corporation, aluminum applications have become increasingly complex, featuring more sizes, shapes, and intricate features than ever before. This complexity demands deburring solutions that can handle multiple angles, planes, bevels, slots, vents, and holes with precision and consistency that manual methods struggle to match at scale.
Imagine a system that applies the same consistent pressure, speed, and contact angle to every single part—hour after hour, shift after shift. That is exactly what a brush deburring machine delivers. These systems use rotating abrasive-filament brushes engineered specifically for your application to remove burrs and radius edges with absolute precision.
Modern brush deburring systems range from simple benchtop units suitable for medium batch operations to fully robotic cells integrated into automated production lines. The key to success lies in matching the brush construction to your specific aluminum alloy and profile geometry. As industry specialists note, brush filament, abrasive type, and construction must be specifically engineered for each application to ensure proper deburring without dimensionally changing the workpiece.
Disc brushes excel at deburring flat machined surfaces and edges on extrusion ends. Composite-hub radial wheel brushes ensure edges are deburred and radiused for safe handling and precise fit. End brushes tackle precision contours and the challenging features of engineered slots. For complex aluminum parts with multiple features, robotic systems can position the workpiece against different brush configurations in a single automated cycle.
The control parameters that robots and automated systems manage include:
This level of control produces consistency that even skilled manual operators cannot maintain over extended production runs.
When you need to deburr hundreds or thousands of smaller extrusion components simultaneously, mass finishing methods offer compelling economics. Both tumbling aluminum and vibratory deburring aluminum approaches process large quantities of parts at once, dramatically reducing per-piece finishing costs.
According to Finishing Systems, barrel tumbling creates an action comparable to rocks tumbling down a steep hill. Parts are placed in a barrel with water, abrasive media, and compounding agents. The barrel rotation causes the media and parts to tumble against each other, creating friction that abrades burrs from surfaces. This produces fast, efficient deburring particularly well-suited to robust parts that can withstand part-on-part contact.
Vibratory deburring aluminum takes a gentler approach. Parts, media, and compounds go into a vibratory tub or bowl. The vibratory action creates forces that cause media and parts to turn and grind against each other, deburring and polishing the mass of parts simultaneously. This method produces results unattainable by hand while treating parts more gently than tumbling.
| Automated Method | Volume Suitability | Edge Quality | Typical Applications | Key Considerations |
|---|---|---|---|---|
| Brush Deburring Machine | Medium to high volume | Excellent—precise edge radius control | Complex profiles, precision components, aerospace parts | Higher capital cost, custom brush engineering required |
| Tumbling/Barrel Finishing | High volume batches | Good—uniform but less precise | Robust parts, non-critical edge requirements | Risk of surface indentations from part-on-part contact |
| Vibratory Finishing | Medium to high volume | Very good—smooth, consistent finish | Delicate parts, tight tolerances, polished surfaces | More complex equipment, higher operating costs |
| Robotic Brush Systems | High volume continuous | Excellent—programmable precision | Complex geometries, multi-feature parts, inline integration | Highest capital investment, programming expertise needed |
As finishing experts observe, vibratory finishing is generally more popular because the process is more compatible with automation, saves time, reduces labor costs, and tends to produce smoother finishes without causing excess surface wear. However, barrel systems offer lower equipment and operating costs, making them attractive for appropriate applications.
How do you know when manual methods no longer make sense for your operation? According to deburring equipment specialists, the decision requires evaluating your throughput requirements, part diversity, and quality demands.
For job shop environments processing diverse profiles in small quantities, flexibility trumps automation. The setup time required to configure automated systems for each new part often exceeds the time saved during processing. Manual tools remain the right choice here, supplemented perhaps by a benchtop brush machine for repetitive edge-breaking tasks.
Medium batch operations—typically 100 to 1,000 parts per run—hit the sweet spot for semi-automated equipment. Brush deburring machines with quick-change tooling or vibratory systems with adjustable parameters provide significant labor savings while maintaining reasonable changeover times. Look for equipment offering flexibility and customization to adapt to different part sizes, geometries, and material types.
High-volume environments processing thousands of identical parts justify dedicated automated deburring equipment with inline integration. Here, cycle time becomes critical. Robotic brush cells or continuous-feed vibratory systems can process parts at rates measured in seconds rather than minutes, paying back their higher capital costs through dramatic labor reduction.
The transition from manual to automated approaches typically makes economic sense when:
Integration with existing production lines requires careful planning. Automated deburring equipment must match upstream cutting speeds to prevent bottlenecks. Buffer systems or accumulation conveyors may be necessary when cycle times do not align perfectly. Consider also the floor space requirements, utility connections, and dust collection needs that accompany automated equipment.
Regardless of which automated approach you select, success depends on proper setup, maintenance, and operator training. Even the most sophisticated brush deburring machine produces poor results with worn brushes, incorrect speed settings, or improper workpiece fixturing. Establish maintenance schedules, document optimal parameters for each part number, and invest in training that helps operators understand the relationship between settings and outcomes.
With your automated system delivering consistent edge quality at production speeds, the next challenge becomes verifying that quality meets your standards and troubleshooting when results fall short of expectations.
Your automated system just processed 500 aluminum extrusions, and now comes the critical question: how do you know the deburring actually worked? Without proper deburring quality control, you are essentially shipping parts based on hope rather than verified results. The difference between professional finishing operations and amateur attempts often comes down to systematic inspection methods that catch problems before they reach your customers.
According to aerospace manufacturing research, visual inspection alone correctly identifies only about 85% of defective parts while improperly rejecting 35% of good parts. That gray area leads to millions of dollars in losses from scrapped acceptable components and passed defective ones. Effective edge break inspection requires combining multiple verification techniques to eliminate uncertainty.
Think of inspection as a three-layer verification system: visual assessment catches obvious problems, tactile testing reveals what eyes miss, and measurement tools provide the quantifiable data that documentation demands.
Visual inspection serves as your first-pass screening. Under proper lighting—ideally magnified 10x or greater—examine each edge for remaining burr material, surface scratches, and uniformity of the edge break. Angled lighting helps reveal subtle burrs that direct illumination might hide. For production environments, consider establishing a reference sample that defines acceptable edge conditions, giving inspectors a physical standard rather than subjective judgment.
Tactile testing adds another dimension to your inspection protocol. Run a gloved finger along deburred edges to detect sharp spots that visual inspection missed. This method works particularly well for internal channels and recessed areas where lighting is limited. However, as industry experts note, fingernail inspection provides no quantifiable data and remains subjective—some inspectors are skilled at classifying defects while others consistently misjudge severity.
Measurement methods provide the precision that demanding industries require. Surface profilometers quantify edge radius and roughness values with micron-level accuracy. For edge break verification specifically, 3D surface gages can mathematically determine true radius of curvature independent of human judgment. These instruments guarantee that the deepest part of any defect is measured, eliminating the uncertainty inherent in 2D trace methods that might miss the worst point.
Essential inspection checkpoints for deburred extrusions:
When your aluminum extrusions end up in aircraft assemblies or automotive safety systems, edge quality transitions from preference to specification. These industries define precise tolerance requirements that leave no room for interpretation—and demand documentation proving compliance.
Aerospace applications typically specify edge break radius requirements ranging from 0.005 to 0.030 inches, depending on the application. Fatigue-critical components require controlled radii because sharp edges concentrate stress and reduce service life. According to CNC machining specialists, burrs at edges can concentrate stress and reduce fatigue resistance in service, making proper edge breaks essential for structural integrity.
Automotive specifications often reference industry standards for edge condition. Components in brake systems, steering assemblies, and structural members must meet defined edge quality criteria. Documentation requirements typically include first-article inspection reports with measured edge radii, ongoing production sampling plans, and traceability records linking inspection results to specific part lots.
ISO 13715 provides the standardized language for communicating edge requirements on technical drawings. Rather than vague notes like "deburr all edges," this standard allows engineers to specify undefined edge conditions using consistent symbols and dimensioning approaches. When you receive drawings with ISO 13715 callouts, you have clear acceptance criteria rather than subjective interpretation.
Deburring removes material, so it can change edge geometry and affect tight fits, sealing faces, and datum edges—treat deburring like a controlled machining feature when tolerances matter.
Even well-established finishing processes produce defects occasionally. Understanding what went wrong—and how to fix it—separates reactive firefighting from proactive quality improvement. The three most common deburring defects each have distinct causes and solutions.
Over-deburring (excessive material removal) occurs when aggressive techniques remove more aluminum than intended. You will recognize this defect by edge radii larger than specified, visible reduction in wall thickness near edges, or dimensional changes that affect part fit. According to machining research, mechanical deburring methods can change part dimensions slightly, and mechanical forces may distort thin sections.
Troubleshooting over-deburring requires examining your process parameters:
Inconsistent edge breaks show up as varying radii along the same edge or different edges on the same part. This creates both functional problems—unpredictable assembly behavior—and cosmetic issues that suggest poor quality control. Causes include worn tooling, improper fixturing, or operator technique variation.
To address inconsistent edges:
Surface scratching occurs when deburring operations damage adjacent surfaces. You might see linear marks parallel to tool movement, random scratches from loose debris, or swirl patterns from rotary tool contact. According to defect troubleshooting specialists, scoring results from mechanical or environmental issues including contaminated abrasives, improper tool contact, or debris trapped between tool and workpiece.
Eliminating surface scratching requires:
Beyond these primary defects, watch for secondary issues like trapped media in pockets after mass finishing, oxide residue from thermal deburring processes, or electrolyte staining from electrochemical methods. Each automated process introduces its own potential failure modes that require method-specific inspection and troubleshooting protocols.
Establishing a formal inspection routine tied to your deburring method creates the foundation for consistent quality. Document the edge requirement, the deburring method used, and the inspection approach for each part number. When these three elements align, you transform deburring from an art into a controlled manufacturing process with predictable, verifiable outcomes.
With quality verification systems in place, the next critical consideration becomes protecting your workers throughout the deburring process—because even perfectly deburred parts mean nothing if the process creates safety hazards.
You have perfected your deburring technique, verified your edge quality, and optimized your production flow—but have you protected your workers from the hazards that accompany every finishing operation? Aluminum deburring safety extends far beyond common sense precautions. The fine particles generated during these processes create unique hazards that demand specific protective measures, proper ventilation systems, and ergonomic considerations that many fabricators overlook until an incident forces attention.
According to The Aluminum Association guidelines, aluminum fines generated during grinding, sawing, cutting, sanding, or scratch brushing operations can be fine enough to be potentially explosible when particles are 420 microns (40 mesh) or finer. This reality transforms what appears to be routine finishing work into an operation requiring deliberate safety engineering.
Different deburring approaches create different hazards, and your deburring PPE requirements must match the specific risks of each method. A one-size-fits-all approach leaves gaps that invite injuries.
Manual Hand Tool Operations:
Powered Rotary Tool Operations:
Automated Brush and Vibratory Systems:
Here is where aluminum deburring safety diverges dramatically from finishing other metals. Aluminum dust hazards include both respiratory concerns and combustibility risks that require engineered controls rather than simply better masks.
According to NFPA 484 guidelines referenced by The Aluminum Association, dust collection systems must be installed to safely capture potentially explosive aluminum fines. These systems should maintain a minimum air velocity of 4,500 feet per minute in conveying ductwork to ensure both coarse and fine particles reach the collector efficiently.
Several conditions must exist for an aluminum dust explosion: the dust must be combustible and suspended in air, fine enough to propagate flame, within the explosible concentration range, and exposed to an ignition source with sufficient energy. Eliminating any one of these conditions prevents explosions—which is why proper collection systems are so critical.
Wet-type dust collectors offer significant advantages for aluminum operations because they eliminate the dry dust accumulation that creates explosion risk. Look for high-efficiency units with at least 99.5% collection efficiency. The exhaust fan should run three to four minutes before processing begins to purge any hydrogen that may have accumulated, and should continue operating for at least two hours after processing stops.
Dry-type collectors require additional precautions. Electrostatic precipitators should never be used due to static charge buildup risks. High-efficiency cyclone collectors positioned outside the building minimize potential damage from any incident. Install explosion vents positioned to direct any blast away from personnel and adjacent structures.
Manual deburring involves repetitive motions, sustained awkward postures, and continuous grip forces that accumulate into musculoskeletal disorders over time. Research on ergonomics in deburring operations shows that workers performing repetitive finishing tasks in prolonged sitting or standing positions experience significant injury risks to the lower back, neck, and shoulders.
Workstation design directly impacts both productivity and injury rates. Adjustable-height work surfaces allow operators to maintain neutral postures regardless of body dimensions. Proper seating with lumbar support reduces back strain during seated operations. Anti-fatigue mats cushion standing positions and encourage micro-movements that prevent static loading.
Tool selection also affects ergonomic outcomes. Lightweight rotary tools reduce grip fatigue. Pistol-grip designs maintain neutral wrist positions. Spring-assisted tool balancers support weight during extended operations. Task rotation between different deburring methods distributes physical stress across different muscle groups rather than overloading any single area.
The hidden cost of ignoring ergonomics appears gradually—increased absenteeism, workers' compensation claims, and declining productivity as experienced operators develop chronic conditions. Investing in proper workstation design and tool selection pays dividends through sustained workforce capability.
With proper safety protocols protecting your workers, the remaining challenge becomes integrating your finishing operations with downstream processes—because edge quality directly impacts coating adhesion, weld quality, and assembly success.
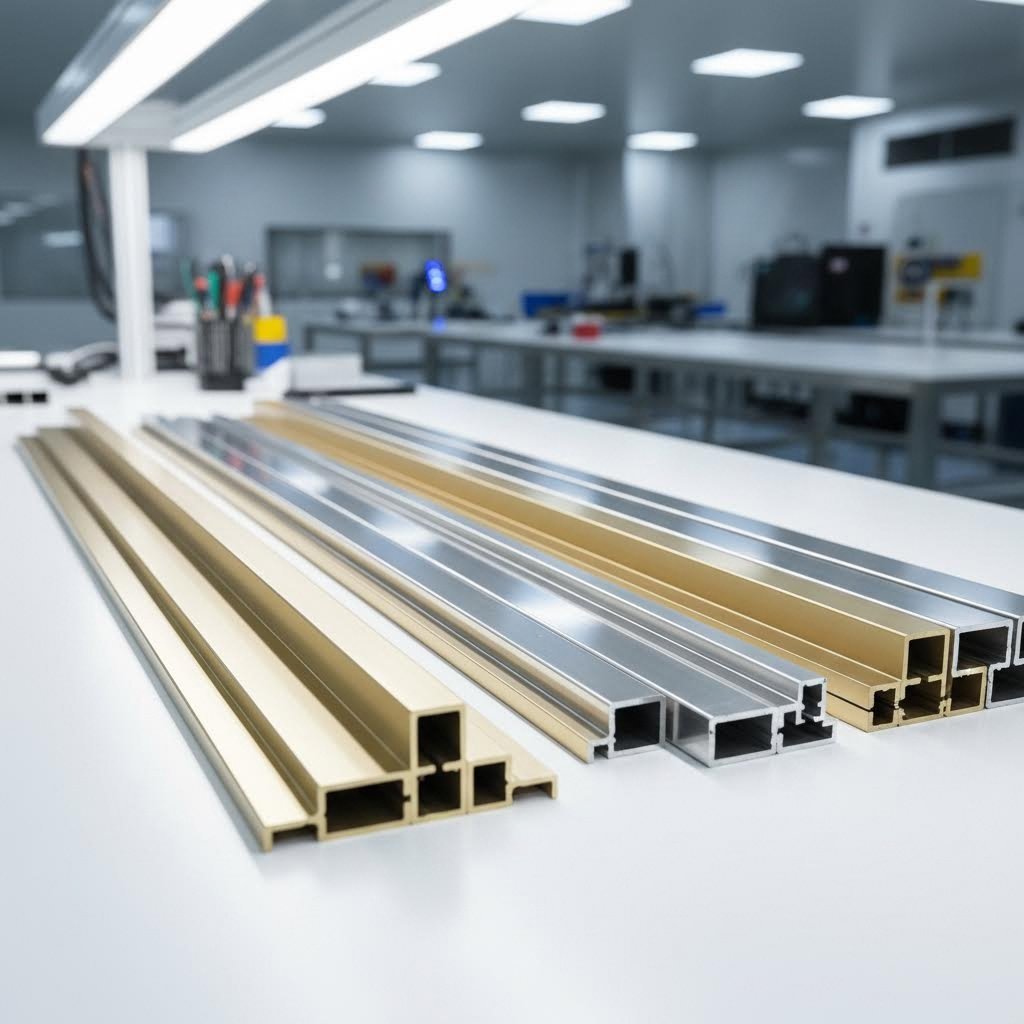
You have achieved perfectly deburred edges on your aluminum extrusions—but what happens next? The reality is that deburring before anodizing, powder coating, or welding directly determines whether those subsequent operations succeed or fail. Poor edge preparation creates a cascade of quality problems that no amount of downstream correction can fully resolve. Understanding how finishing operations depend on proper aluminum surface treatment prep transforms deburring from a standalone task into a critical link in your production chain.
According to industry guidelines from SendCutSend, deburring is a preselected option on all anodized parts because imperfections become visible and enhanced in severity without proper edge preparation. This requirement exists because the anodizing process amplifies rather than hides surface defects—what looked acceptable on raw aluminum becomes glaringly obvious after treatment.
Imagine spending hours achieving a flawless anodized finish only to discover that every burr, scratch, and inconsistent edge break shows through the coating with enhanced visibility. This nightmare scenario plays out regularly in facilities that treat edge preparation powder coating as an afterthought rather than a prerequisite.
Anodizing creates an oxide layer that grows into and out from the base aluminum surface. Burrs and sharp edges become high points where the coating is inherently thinner and more susceptible to chipping. Even microscopic burrs that passed visual inspection become magnified through the anodizing process, creating visible defects that customers immediately notice.
As A&B Deburring specialists emphasize, if your aluminum parts will be anodized, coated, or remain visible in the final product, surface finish matters. They recommend fine-tuning media size, shape, and dwell time to achieve uniform matte or satin finishes that provide ideal preparation for subsequent treatments.
Different aluminum alloys respond differently to anodizing, and your edge preparation must account for these variations. According to material processing guidelines, anodized 7075 aluminum parts will have duller coloring and a more pronounced difference in appearance between the face and cut edge due to the high zinc content of the material. This means edge preparation becomes even more critical for high-strength alloys where color consistency across all surfaces matters.
Critical edge preparation requirements for coating success:
Powder coating presents similar challenges with distinct considerations. The electrostatic application process deposits powder more heavily on sharp edges and corners, creating areas where coating thickness varies dramatically from adjacent flat surfaces. Proper edge radiusing during deburring ensures more uniform powder distribution and reduces the orange-peel effect that occurs at sharp transitions.
Edge quality directly determines coating durability—a burr-free, consistently radiused edge receives uniform coating thickness that resists chipping, while a poorly prepared edge creates weak points that fail first under service conditions.
Ask any experienced welder about joining aluminum extrusions with poor edge preparation, and you will hear frustration. Burrs create unpredictable gaps in weld joints, trap contaminants that cause porosity, and prevent the consistent fit-up that quality welds require. According to ESAB welding specialists, proper weld preparation for aluminum is critical for both preventing weld quality issues and troubleshooting when problems occur.
The mechanics of aluminum welding make edge preparation particularly important. Aluminum naturally forms an oxide layer that melts at approximately 3,600°F, while the base aluminum melts at only 1,200°F depending on the alloy. Burrs trap this oxide layer in crevices where cleaning tools cannot reach, creating defects in the weld joint that compromise structural integrity.
ESAB experts recommend cleaning the aluminum with degreasers before any welding operation, noting that you should always degrease before tacking to prevent trapping contaminants between surfaces. Burrs create exactly the kind of surface irregularities where contaminants accumulate and become trapped during joint assembly.
Weld preparation demands go beyond simple burr removal:
According to AlcoTec welding research, skipping preparation might save minutes, but it increases the risk of flaws like porosity, incomplete fusion, and cracking. In structural or high-load applications, these flaws could lead to catastrophic failure. The time invested in proper edge preparation pays dividends in weld quality, inspection pass rates, and long-term joint performance.
Note that industry specifications indicate parts requiring welding should not be anodized—the anodized layer interferes with weld quality. This sequencing requirement means your deburring operation must prepare edges for welding first, with anodizing applied only after welding operations complete.
Managing the interface between deburring and subsequent operations creates complexity that many fabricators underestimate. Each handoff between processes introduces potential for damage, contamination, and quality variation. This reality drives many manufacturers to seek processing partners who integrate multiple operations under coordinated quality control.
Comprehensive aluminum processing partners like Shengxin Aluminium integrate deburring into their deep processing workflow, offering end-to-end services from extrusion through surface treatments including anodizing and powder coating. With over 30 years of industry experience and state-of-the-art CNC machining centers capable of precise cutting, drilling, and bending, such integrated facilities ensure that edge preparation aligns perfectly with subsequent finishing requirements.
When extrusion, precision cutting, deburring, and surface treatment occur within the same quality system, the coordination problems that plague fragmented supply chains disappear. Edge quality specifications flow directly from coating requirements rather than being interpreted across organizational boundaries. The result is profiles that arrive ready for assembly with consistent, verified edge quality throughout.
Whether you perform finishing operations in-house or partner with integrated processing specialists, the fundamental principle remains constant: treat deburring as the foundation for all subsequent operations rather than an isolated task. The time and attention invested in proper edge preparation compounds into coating durability, weld integrity, and assembly precision that define your final product quality.
You have explored the tools, techniques, alloy considerations, and quality verification methods—but how do you pull all these elements together into a coherent production deburring strategy? The answer lies in honestly evaluating your production environment, understanding your profile complexity, and matching your approach to your actual quality requirements rather than aspirational ideals.
According to industry research, in the aerospace industry, deburring can comprise around 30% of the manufacturing expenses for precise parts, while in the automotive sector, it ranges from 15 to 20%. These significant costs underscore why deburring method selection deserves careful strategic analysis rather than defaulting to whatever approach you have always used.
Think of your production environment as falling into one of three categories, each with distinct characteristics that drive your optimal deburring approach.
Job Shop Operations (Flexibility First)
When you process diverse profiles in quantities of one to fifty pieces, flexibility trumps efficiency every time. Setting up automated equipment for each new part number consumes more time than the equipment saves during processing. Your aluminum finishing workflow should center on versatile manual tools that skilled operators can adapt instantly to any geometry.
Job shops thrive with comprehensive hand tool sets including rotary deburring tools, countersinks, files, and brush attachments. A benchtop brush machine handles repetitive edge-breaking tasks when the same profile appears frequently enough to justify the setup time. The key advantage here is zero changeover delay—an experienced operator transitions from one profile to another in seconds.
However, job shop flexibility comes with inherent consistency limitations. Different operators produce different results, and even the same operator varies throughout a shift as fatigue accumulates. For applications where edge quality tolerances are tight, consider supplementing manual methods with simple fixtures that guide tool angle and contact pressure.
Medium Batch Production (Balancing Efficiency and Flexibility)
When your typical runs range from 100 to 1,000 pieces, semi-automated equipment begins making economic sense. According to Timesavers, mechanical deburring offers significant benefits including efficiency, reliability, and fast burr removal from workpiece structures.
Brush deburring machines with quick-change tooling provide the sweet spot for medium batch operations. Setup time of 15 to 30 minutes per profile becomes acceptable when amortized across hundreds of parts. Vibratory finishing systems offer another excellent option, processing entire batches simultaneously with consistent results impossible to match manually.
The transition from manual to semi-automated typically makes sense when labor costs for hand deburring exceed 15 to 20 percent of total part cost. Calculate your actual finishing time per piece, multiply by your labor rate, and compare against equipment operating costs. The math often favors automation earlier than intuition suggests.
High-Volume Production (Maximizing Throughput)
When you process thousands of identical parts, dedicated automated deburring equipment with inline integration becomes essential. Cycle time measured in seconds rather than minutes justifies higher capital investment through dramatic labor reduction and consistency improvements.
Robotic brush systems can position workpieces against multiple brush configurations in a single automated cycle, processing complex geometries that would require multiple manual operations. Continuous-feed vibratory systems handle throughput requirements that batch processing cannot meet. According to deburring equipment specialists, centrifugal barrel finishing increases centrifugal forces above gravity, resulting in greater abrasive forces and faster deburring times for high-volume applications.
Effective deburring does not begin when parts arrive at the finishing station—it starts during cutting and continues through final inspection. Building a complete workflow means addressing each phase systematically.
Phase 1: Burr Prevention During Cutting
The most efficient deburring operation is one you do not need. Start by optimizing your cutting parameters to minimize burr formation at the source. Select appropriate blade types for your aluminum alloys—carbide-tipped blades with negative hook angles for extrusion cutting. Maintain proper feed rates calibrated to wall thickness. Ensure rigid fixturing that prevents vibration during cutting.
As ARKU processing experts note, clean, deburred parts and sheets reduce the potential wear on downstream equipment, and burrs on the material could potentially damage tools in other machines. Prevention at the cutting stage protects both your deburring operations and subsequent processes.
Phase 2: Primary Deburring Operations
Match your primary deburring method to both your production volume and profile complexity. Simple profiles with accessible edges can run through brush machines or vibratory systems efficiently. Complex geometries with internal channels may require manual operations regardless of volume.
Consider alloy-specific adjustments at this phase. Softer 6063 profiles respond well to less aggressive abrasives, while harder 7075 aerospace alloys demand carbide or ceramic tooling. Document the optimal parameters for each part number to ensure consistent results across operators and shifts.
Phase 3: Quality Verification
Establish inspection criteria appropriate to your application requirements. Visual inspection catches obvious defects but misses subtle problems. Tactile testing reveals sharp spots that eyes miss. Measurement tools provide the quantifiable data that demanding industries require.
Create feedback loops that connect inspection findings to process adjustments. When defects appear, trace them back to their source—whether cutting parameters, deburring settings, or handling damage—and implement corrections before producing more defective parts.
Phase 4: Integration with Downstream Operations
Your deburring workflow must prepare parts for whatever comes next. Anodizing requires burr-free edges with consistent radii to achieve uniform coating thickness. Welding demands clean joint faces free from contaminants that cause porosity. Assembly operations need predictable edge conditions for proper fit-up.
Here is a question worth considering: what if your extrusions arrived with precision cutting and edge preparation already completed? Manufacturers with comprehensive deep processing capabilities can deliver profiles ready for your next operation, eliminating or dramatically reducing your in-house finishing requirements.
Companies like Shengxin Aluminium with CNC machining centers and over 30 years of experience offer integrated processing from extrusion through precision cutting, drilling, bending, and surface treatments. Their 35 advanced extrusion presses combined with state-of-the-art finishing capabilities mean profiles arrive with edges already prepared to your specifications—at factory-direct pricing that often competes favorably with in-house processing costs.
This approach makes particular sense when your core competency lies in assembly or integration rather than metal finishing. Rather than investing in deburring equipment, training operators, and managing consumables, you receive profiles ready for immediate use. The consistency advantages of controlled processing environments often exceed what smaller-scale in-house operations can achieve.
Selecting your optimal deburring approach requires weighing multiple factors against your specific situation. Use these criteria to guide your decision:
No single deburring method works optimally for every situation. The fabricators who achieve the best results treat method selection as a strategic decision worthy of careful analysis rather than a default choice based on habit or equipment they happen to own. Whether you invest in automation, develop skilled manual operators, or partner with integrated processing suppliers like Shengxin Aluminium, align your approach with your actual production requirements—and revisit that alignment as your business evolves.
The goal is not to have the most sophisticated deburring capability, but to have the right capability for your specific needs. Start with honest assessment, match methods to requirements, and build workflows that connect prevention, processing, and verification into a coherent system. That is how professional aluminum fabricators transform deburring from a costly afterthought into a competitive advantage.
Removing burrs from aluminum extrusions requires matching your method to the alloy and production volume. For low-volume work, manual tools like rotary deburring tools, countersinks, and Scotch-Brite pads offer flexibility and precision. Cotton fiber mounted points remove burrs quickly without changing part geometry. For higher volumes, brush deburring machines, vibratory finishing, or tumbling systems provide consistent results at production speeds. Softer 6063 alloys respond well to light pressure with standard abrasives, while harder 7075 aerospace grades require carbide or ceramic tooling with controlled feed rates.
Deburring metal holes in aluminum extrusions typically involves spring-loaded cutting tools or countersinks mounted on spindles. The tool moves through the hole smoothly, cutting the burr without scratching surfaces. Tapered countersinks create chamfers at hole edges while removing burrs in one operation. For cross-holes and internal intersections, ball-end rotary stones or flexible abrasive cords reach difficult areas. Extended-reach rotary attachments work well for deep cavities in hollow extrusion profiles where standard tools cannot access.
Cold saws produce the cleanest cuts with minimal burrs on aluminum extrusions, often requiring little to no finishing afterward. They generate low heat and leave clean edges ideal for precision work. Band saws cut faster but leave rougher edges requiring deburring machines or grinders. Abrasive cutting creates heat-affected edges with variable burrs needing significant finishing. For best results, use carbide-tipped blades with negative hook angles, maintain proper feed rates calibrated to wall thickness, and ensure rigid fixturing to prevent vibration during cutting.
Deburring before anodizing is critical because the anodizing process amplifies surface defects rather than hiding them. Burrs create high points where coating thickness is thinner and more prone to chipping. The oxide layer grows into and out from the base aluminum, making microscopic burrs glaringly visible after treatment. Improperly prepared edges also cause color variation and uneven absorption during anodizing. Integrated processing partners like Shengxin Aluminium include deburring as a standard step in their deep processing workflow to ensure consistent coating results.
The transition from manual to automated deburring typically makes economic sense when labor costs for hand deburring exceed 15-20% of total part cost, or when processing 100+ parts per run consistently. Other indicators include quality rejections from inconsistent manual finishing, capacity constraints in finishing operations, and worker fatigue limiting sustainable throughput. Medium batch operations benefit from semi-automated brush machines or vibratory systems, while high-volume production justifies dedicated robotic brush cells or continuous-feed systems with inline integration.



 serviço on-line
 0086 136 3563 2360
 sales@sxalu.com
 +86 136 3563 2360
 português
 English
 français
 Deutsch
 русский
 español
 العربية
 ไทย
ไทย Việt
Việt Українська