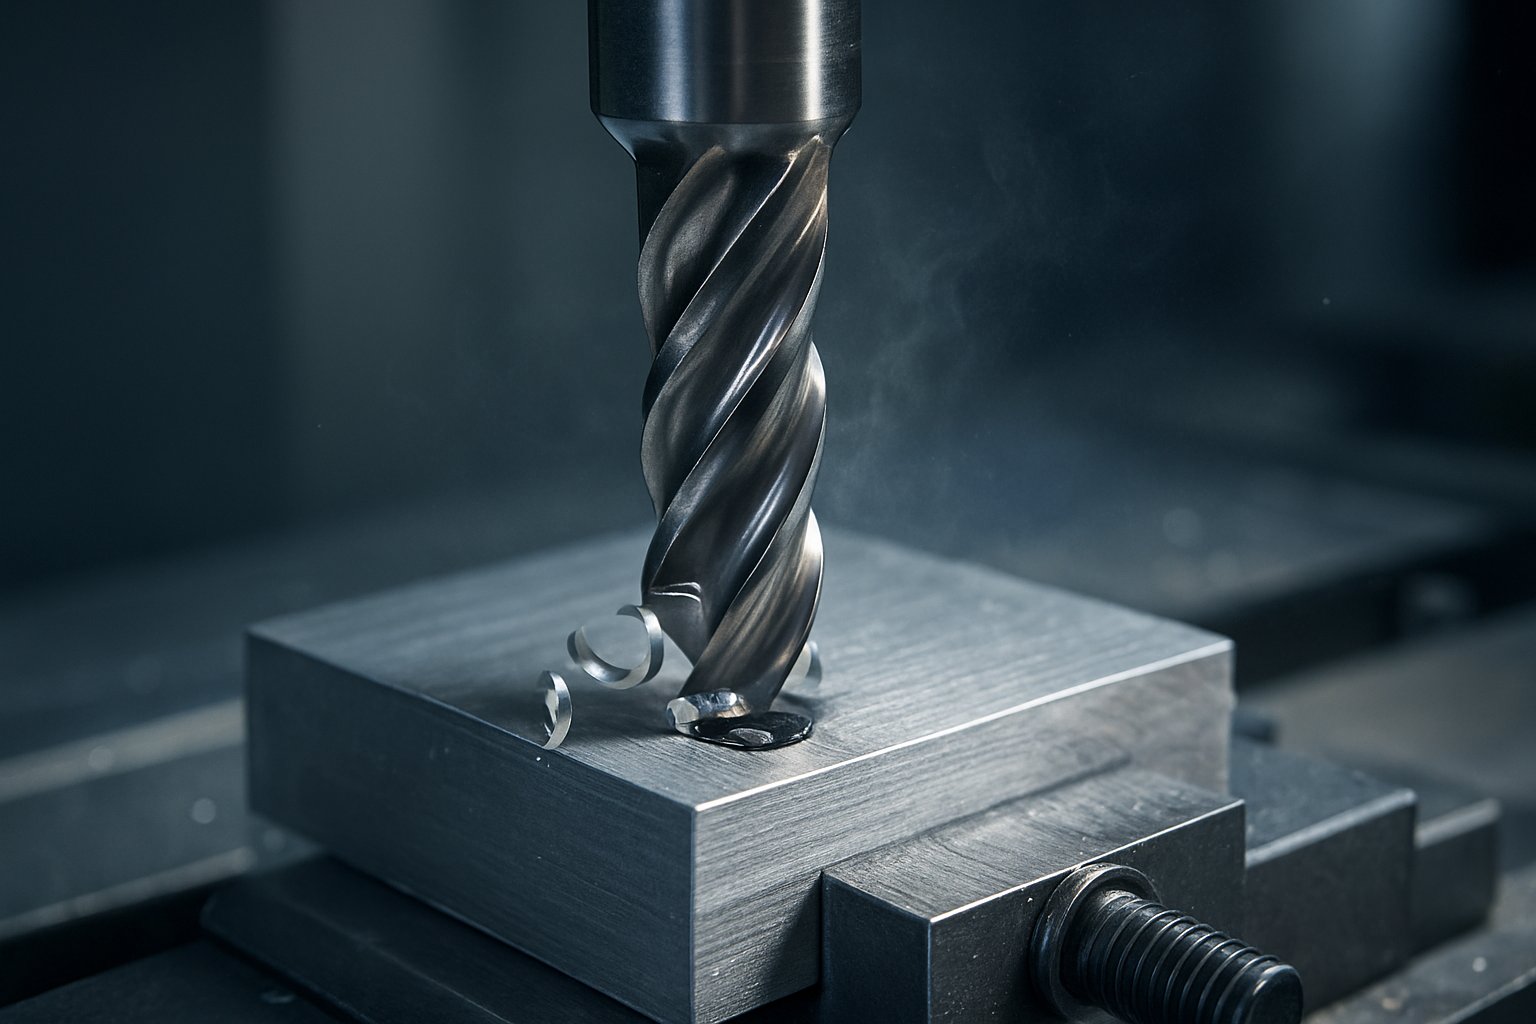
Aluminum gets labeled as an easy material because it is softer than steel. That sounds helpful, but it often leads people straight into bad hole quality. In real aluminium drilling, softness is only part of the story. Aluminum is also ductile, which means it can stay in contact with the cutting edge, smear instead of fracture cleanly, and stick where chips should slide away. The result is a job that feels simple at first, then turns into wandering starts, grabbing at breakthrough, rough walls, and heavy burrs.
That is why beginners searching how to drill aluminum and experienced operators chasing cleaner holes often run into the same physics. The material may not resist the tool like harder metals do, but it can still create heat, clog flutes, and build up on the cutting edge when chip formation and evacuation are not under control.
Aluminium drilling is the process of making holes in aluminum while controlling chip formation, heat, and evacuation so the metal cuts cleanly instead of smearing onto the drill.
This definition matters because drilling aluminum is not simply a lighter version of general metal drilling. Material behavior drives the outcome. Cutting Tool Engineering notes that aluminum's softness and ductility keep it in prolonged contact with the cutting edge, which raises the risk of built-up edge and chip packing. So even a basic hole can go off track if the setup lets the drill rub instead of shear.
Smearing usually starts when friction, heat, and poor chip flow outrun clean cutting. Instead of separating into manageable chips, the material can form long, stringy chips that wrap, pack, and drag across the hole surface. A practical drilling aluminum guide also emphasizes clamping, steady pressure, chip clearing, and lubrication because once chips stop leaving the hole efficiently, the drill starts rubbing harder and hole quality drops fast.
That is the hidden trap in drilling through aluminum. A metal that looks soft can still punish a poor setup by overheating quickly, welding to the edge, and leaving a torn finish.
Before changing tooling or technique, watch the symptoms. Aluminum usually tells you what is wrong.
Those clues point to the real variables behind hole quality: the alloy in front of you, the shape of the drill, and the way feed and heat are managed. Aluminum is not one single drilling condition, and that difference becomes impossible to ignore once sheet, plate, castings, and harder tempers enter the picture.

The material starts changing the job before the drill ever touches it. Aluminum might be a soft wrought sheet, a harder plate, a casting, or a hollow extrusion. People searching how to drill a hole in aluminum often focus on speed first, but the better starting point is to identify what form and condition they actually have. That choice affects chip shape, feed confidence, exit burr size, and how much support the work needs.
A practical drill and tap guide notes that aluminum is soft, generates heat quickly, and tends to gall or seize during machining. That shows up fastest in more ductile, gummy material, where chips stay stringy and want to smear instead of break away cleanly. Stronger wrought stock usually feels steadier under the point, but it still punishes rubbing. If feed gets timid, friction rises and finish quality falls.
The difference between wrought and cast stock matters too. A wrought vs cast aluminum overview explains that wrought products such as sheet, extrusions, and structural forms have a more uniform microstructure, while cast aluminum can have less uniformity, varying hardness, or small defects that make machining feel less consistent. That is why two parts with the same diameter hole can respond very differently.
| Material condition | Likely drilling behavior | Common defect | Operator response |
|---|---|---|---|
| Softer, more ductile wrought stock | Sticky, stringy chips and faster smearing | Flute loading, heavy burrs | Use steady pressure, clear chips often, lubricate well |
| Harder wrought plate or bar | More stable entry, but rubbing builds heat quickly | Rough walls, loss of size control | Keep feed consistent and avoid dwelling |
| Cast aluminum | Cut may feel uneven because structure is less uniform | Rough finish or localized tearing | Clamp firmly, inspect chips, ease the breakthrough |
| Thin sheet | Material flexes easily at entry and exit | Wander, grabbing, large exit burr | Back the sheet and clamp close to the hole |
| Plate | Good support, but chip path gets longer with depth | Heat buildup, packed flutes | Watch evacuation and increase chip clearing as depth grows |
| Extrusion or hollow section | Interrupted cutting and sudden second-wall breakout | Snagging, distortion, double-wall burrs | Support both sides where possible and control breakthrough |
If you need to drill through aluminum with a larger cutter, form matters even more. In hole saw aluminum work, thin sheet can chatter and catch, while hollow extrusions can grab as the teeth enter a cavity and meet the far wall.
That support logic sits behind most advice on how to drill aluminium holes cleanly. The bit can only cut well if the work stays put and the exit is controlled. Material form decides how much help the drill needs, and that is exactly why bit geometry becomes the next real lever.
A soft sheet and a harder plate can fail for different reasons, yet both usually improve when the drill geometry matches the way chips need to leave the hole. That is why many drill bits for aluminum succeed or struggle long before speed settings get blamed. Shape matters. Point angle affects how the hole starts. Helix affects chip lift. Margins affect stability and heat. Even a polished flute can change whether aluminum slides out or welds itself to the tool.
Published geometry guidance from Harvey Performance and material-selection notes from JINOO line up on one practical truth: there is no single magic bit. The best drill bit for aluminum depends on alloy behavior, hole depth, machine rigidity, and how much heat the job creates.
Start with the tool body, then the point. For occasional work or light shop use, HSS remains a practical choice. Cobalt-enhanced HSS makes sense when heat and wear rise. Solid carbide suits rigid, repeatable production where cleaner holes and longer life justify the stiffness and cost. So the best drill bit material for aluminum is situational, not universal.
At the tip, 118 degree and 120 degree points are commonly used for softer, gummy materials, while 135 degree points are a common aluminum choice when better centering and more controlled cutting are needed. A split point helps the drill bite sooner and wander less, which is especially useful when handheld accuracy is less than perfect.
| Geometry attribute | Where it works best | Common tradeoffs | Warning signs of mismatch |
|---|---|---|---|
| 118 degree to 120 degree point | Softer, gummy aluminum and many through holes | Not always the strongest choice for demanding accuracy | Entry feels vague or hole location drifts |
| 135 degree point | General aluminum work and cleaner, more controlled starts | Needs steady feed so it cuts instead of rubs | Squealing, heat, or a shiny rubbed entrance |
| Split point | Handheld work, precise starts, reduced walking | Does not replace clamping or proper support | Bit still skates or grabs at entry |
| High helix, about 34 to 38 degrees | Aluminum, other long-chipping non-ferrous materials, deeper holes | Less of the strength balance of a medium helix design | Flutes pack fast when chip load rises |
| Medium helix, about 28 to 32 degrees | General-purpose drilling | Not as aggressive at lifting sticky chips from deeper holes | Stringy chips linger and finish turns rough |
| Polished flutes and good chip space | Gummy stock where chip release is the main problem | Cannot overcome poor lubrication or timid feed by themselves | Aluminum smears along the flute walls |
| Wide margins or stronger edge prep | Hole size control and better guidance | More friction and heat | Built-up edge, extra heat, or rapid rubbing marks |
| Corner chamfer or radius | Reducing breakout and entrance or exit burrs | Still needs controlled breakthrough | Heavy exit burrs or edge chipping |
In aluminum, flutes act like chip elevators. When the material is long-chipping and sticky, a high helix usually helps more than a general-purpose shape because it lifts chips out faster. Harvey Performance also notes that smaller web thickness improves clearance in long-chipping materials, while wider margins improve stability but add friction. That tradeoff is easy to miss. A drill can track straight and still run too hot if the geometry gives chips too little room.
A coating is not an automatic upgrade. For softer aluminum, uncoated tools can be perfectly serviceable, and polished flute surfaces may matter just as much as the coating itself. TiN is commonly chosen to reduce sticking and extend tool life, while harder wear-focused coatings are more relevant in continuous machining or tougher aluminum conditions.
The catch is simple. If the coating choice does not improve chip release, it will not rescue an aluminium drill bit that is already rubbing, loading up, or trapping heat. Watch for chips welding to the lips, a duller finish, or rising temperature without better hole quality. Those are signs the geometry and surface condition are fighting the material instead of helping it. Once that happens, feed pressure, lubrication, and pecking strategy start deciding whether the bit can keep cutting cleanly or turns the hole into a heat trap.
Good geometry still fails when the cut turns into rubbing. In aluminum, surface speed, feed pressure, chip thickness, and lubrication have to stay in balance. Run too fast with a hesitant feed and the drill skates, heats up, and starts building a sticky edge. Push too hard at low speed and the tool can grab, especially near breakthrough. The target in aluminum drilling speeds and feeds is simple to describe and harder to hold: make a real chip on every revolution, then get that chip out of the hole before it welds to the tool.
As drill diameter increases, rpm usually needs to come down so surface speed does not climb out of control. Feed cannot drop into a timid "polishing" motion, though, because aluminum punishes rubbing. The Jarvis drill-and-tap guide stresses controlled speed, steady pressure, and generous lubrication for exactly that reason.
| Drill diameter range | Shallow holes | Deeper holes | Handheld or light setup | Rigid machine setup |
|---|---|---|---|---|
| Small diameter | Use enough feed to prevent rubbing; avoid dwelling at entry | Short pecks help keep tiny flutes open | Favor control over aggression; let the point establish itself | Stable feed works well if chips stay free |
| Medium diameter | Moderate speed with confident feed usually cuts cleanly | Reduce speed if heat rises and increase chip clearing | Watch for grabbing at breakthrough | Good candidate for consistent production settings |
| Large diameter | Lower rpm helps control surface speed and edge loading | Lubrication and evacuation become much more important | Extra support and firm clamping matter | Use steady feed and strong fluid delivery to avoid packed flutes |
The best cutting fluid for aluminum depends on how the hole is being made. MSC fluid guidance notes that straight oils are especially useful in low-speed, high-precision work such as tapping, reaming, or deep-hole drilling, while water-soluble fluids are usually better for higher-speed production because they cool more effectively.
Packing is usually the first sign that speed and feed are no longer working together. Pecking breaks that cycle by interrupting the plunge and clearing chips. Harvey pecking guidance highlights the benefits clearly: better chip evacuation, less walking, lower risk of chip packing, and better overall hole quality. In aluminum, shallow holes may need little or no pecking if chips are short and free. Deeper holes, stringy chips, or weaker chip flow call for shorter advances and cleaner retracts. Harvey also notes that for depths of 12x diameter or greater, a pilot hole up to 1.5x diameter may be recommended.
Heat in aluminum often shows up as smearing before it looks dramatic. The warning signs are a bright rubbed entry, a sudden squeal, sticky chips on the margins, or a finish that turns dull and torn. When that happens, reduce surface speed if the tool is overheating, increase feed slightly if the drill is rubbing, improve lubrication at the point of cut, and shorten the distance between chip-clearing retracts. One variable changed at a time is usually enough to tell whether the hole needed more chip load, less heat, or better evacuation.
Those same corrections feel very different in a hand drill than they do on a drill press or CNC, because machine rigidity changes how easily "steady feed" can actually be delivered.
The same aluminum drill can cut cleanly on one machine and misbehave on another. The material has not changed. Rigidity, entry control, feed consistency, and chip removal have. That is why advice on how to drill in aluminum only becomes useful when it matches the equipment in front of you.
Before the spindle starts, a few setup habits prevent most avoidable errors.
Handheld drilling is where most hole wander starts. You are controlling angle, pressure, and chip clearing at the same time, so small mistakes show up fast. If you are learning how to drill through aluminum with a portable drill, start by making the setup do more of the work. Clamp close to the hole. Use a pilot hole when the surface is slick or the final diameter is larger. Keep speed modest and pressure steady rather than forcing the cut.
This is also the machine type where people overrate the best bit for drilling aluminum and underrate stability. A sharp bit helps, but it cannot fix a shifting workpiece or a tilted entry. Pause often enough to clear swarf from the flutes and hole, because packed chips quickly turn a clean cut into rubbing and heat.
A drill press adds rigidity and a straighter plunge, so it usually improves location control and repeatability right away. That advantage only holds if the part is flat, supported, and clamped. Aluminum can still grab at breakthrough or smear if the feed gets timid. Keep the quill feed smooth, use lubricant, and retract often enough to keep chips moving. The same drilling guide stresses clamping, steady pressure, lubrication, and chip clearing for exactly these reasons.
Compared with a hand drill, the press makes it easier to hold a consistent feed. It also makes it easier to miss chip packing, because the cut can look stable while flutes silently fill up. Watch the chips, not just the spindle.
CNC and production setups bring the biggest gains in repeatability, but they also repeat mistakes very efficiently. Chip size, coolant direction, and cycle choice matter more here than operator feel. Chip-evacuation guidance notes that aluminum chips tend to stick to tools, that larger chips are generally easier to manage than very fine ones, and that coolant or mist should be aimed directly at the cutting zone to flush chips away.
For deeper holes, coolant control becomes a process choice, not just a convenience. The same guidance notes that through-coolant tools are especially important when hole depth exceeds 5xD, while flood cooling, mist, or air can still work when nozzle alignment is good. In production, inspect the first holes for packed chips, smeared walls, and burr growth before trusting the cycle across a full run.
| Machine type | Setup priorities | Common risks | Best corrective actions |
|---|---|---|---|
| Hand drill | Accurate layout, close clamping, backing support, pilot hole when needed | Walking at entry, angled holes, sudden grabbing at exit | Start carefully, keep pressure steady, clear chips often, slow the breakthrough |
| Drill press | Part flat on table, firm clamping, smooth feed, visible chip clearing | Packed flutes, rubbing from hesitant feed, exit burrs | Use lubricant, maintain a consistent downfeed, retract to clear chips, support the exit |
| CNC or production | Stable fixturing, repeatable feed, coolant alignment, suitable peck or deep-hole strategy | Recutting chips, hidden heat buildup, repeating a poor cycle across many parts | Verify first-hole chips and finish, direct coolant at the cut, adjust cycle for depth, use through-coolant for deeper holes when available |
Machine choice sets the floor for hole quality. When that hole must later guide a countersink or hold threads, small drilling errors stop being cosmetic and start affecting fit, strength, and assembly.
A clean hole starts paying off the moment threads or a fastener seat enter the picture. In aluminum work, the drill-to-finish path is tightly connected. Burrs at the hole mouth, smeared walls, or trapped chips often come back later as rough tap entry, damaged threads, or a ragged countersink.
If you have ever asked what is tapping in drilling, it is the step where internal threads are cut or formed inside a drilled hole. The hole is not just a starter feature. It affects how straight the tap enters, how smoothly chips leave, and how much load the tap sees while cutting.
A practical drill-and-tap guide for aluminum recommends high-speed steel taps, with forming taps as a strong option because aluminum forms well. If a cut tap is used, the same guidance favors plenty of flute space for chip evacuation. It also stresses lubrication on both the tap and the hole. For hand work, reverse the tap slightly every couple of turns to break chips and reduce binding. That is a big part of how to tap a hole without turning a decent drilled part into a broken-tap problem.
When people search countersink aluminum, the safest mindset is to treat the countersink as a finishing cut, not a rescue cut. The same Jarvis guidance recommends deburring after drilling because burrs and razor edges should be removed before the hole moves into the next operation. Leave a burr standing, and the countersink can simply push that damage outward and leave a rougher edge.
Keep the feature purposeful. A light chamfer can help tap entry or let hardware sit cleanly. An oversized entry chamfer removes extra material at the top of the hole and can leave the first threads less protected. In softer aluminum, too much friction can also smear the edge instead of shearing it cleanly, so light pressure, chip clearing, and lubrication still matter.
Fresh threads in aluminum can fail during assembly even when the drilled hole looked fine a minute earlier. A galling overview explains that aluminum is susceptible to adhesive wear and cold welding under friction, and poor lubrication makes that more likely. Dirty or already damaged threads raise the risk further.
Better drilling does more than make a cleaner hole. It lowers tap load, helps countersinks stay neat, and reduces the chance that assembly damage gets blamed on the fastener. When burrs, torn entries, or thread damage keep repeating, the most useful fix often starts with diagnosis rather than a new tool.
Bad holes in aluminum rarely start as big failures. More often, the first clue is small: a growing burr, a chip that will not clear, a drill that pulls at breakthrough, or a hole that looks fine until the next step exposes the damage. That is why troubleshooting works best as a diagnosis routine, not a guessing game. If you are learning how to drill into aluminum more reliably, begin with the visible symptom and trace it back to chip flow, support, tool condition, or feed behavior.
Change one variable at a time. Chips, burr location, and entry behavior usually reveal the real problem faster than sound alone.
Some defects show up at the edge of the hole, while others show up in size and position. JINOO's drilling guide links excessive burrs to dull cutting edges, incorrect feed, high speed near hole exit, weak backside support, and poor coolant application. The same source ties oversized or eccentric holes to deflection, vibration, worn edges, improper point geometry, and runout. For wandering starts, a wandering guide highlights smooth surfaces, wide chisel edges, off-axis pressure, and unclamped workpieces as common causes.
| Symptom | Likely cause | What to inspect first | Safest corrective action |
|---|---|---|---|
| Heavy entry or exit burr | Dull lips, poor feed control, too much speed at breakthrough, weak backside support | Drill edge sharpness, support under the exit, burr size and location | Sharpen or replace the drill, add a sacrificial backer, ease the breakthrough, keep lubricant at the point of cut |
| Drill grabs or yanks through | Unsupported exit, trapped chips, aggressive feed at the last part of the cut | Exit support, chip buildup on the lips, feed just before breakthrough | Reduce exit speed, keep feed controlled instead of forcing it, clear chips before the final breakthrough |
| Oversized or eccentric hole | Deflection, vibration, rough or worn edges, runout, unstable setup | Spindle or chuck runout, drill length, clamping rigidity | Shorten and stiffen the setup, clamp more rigidly, replace the worn tool, verify alignment before drilling again |
| Hole starts off location | Wide chisel edge, dull point, smooth surface, poor starting angle, loose workpiece | Point condition, marking or spotting method, clamp position | Punch or spot first, start at low rpm with light pressure, secure the part, use self-centering geometry when needed |
| Later aluminum thread feels rough or damaged | Burrs or torn material left from drilling, chips left in the hole, poor hole finish before tapping | Hole mouth, chips in the hole, wall finish before threading | Deburr lightly, clean the hole fully, correct the drilling issue before tapping aluminum again |
When the trouble is inside the hole, chips usually tell the story. The chip-evacuation article from KYOCERA SGS notes that good evacuation removes heat, prevents recutting, and protects surface finish. It also points out that aluminum chips tend to stick to tools when lubrication is insufficient. That sticking is the beginning of the smeared, loaded, almost welded look many operators describe as galling or built-up edge.
Watch for scratch marks, chatter, smearing, or clogging. Those are warning signs that chips are not leaving cleanly. The same source notes that larger chips are generally easier to manage in aluminum, while very fine chips can clog the cutting zone. JINOO also connects poor internal finish to dull edges, unstable feed, weak lubrication, and incorrect geometry. If you are troubleshooting how to drill and tap, do not begin with the tap if the drilled hole already shows packed flutes, smeared walls, or heat marks.
Check the chips before assuming the drill is dull. Sticky chips, recutting, and flute loading often point to lubrication or evacuation first.
| Symptom | Likely cause | What to inspect first | Safest corrective action |
|---|---|---|---|
| Flutes packed with chips | Insufficient evacuation, poor lubrication, no pecking as depth increases | Chip shape, flute loading, hole depth, coolant direction | Retract to clear chips, improve coolant or mist alignment, use pecking more often as depth increases |
| Smeared hole wall or silvery buildup on tool | Aluminum adhesion from heat and poor lubrication | Material stuck on lips and margins, signs of rubbing instead of cutting | Stop, clean or replace the tool, reduce rubbing by correcting speed and feed, restore lubrication at the cutting zone |
| Poor finish inside the hole | Dull edge, irregular feed, chip recutting, wrong geometry for the material | Hole wall marks, edge wear, chips left in the hole | Use a sharp tool, stabilize feed, improve chip removal, correct lubrication before resuming |
| Heat marks or visible smearing | Too much heat from high speed, dull edges, insufficient coolant, rubbing feed | Color change, shiny rubbed entry, chip condition, coolant reach | Reduce speed, raise feed slightly if the tool is rubbing, keep the edge sharp, avoid dry cutting once adhesion starts |
The safest troubleshooting sequence is simple. First, stop the cycle and inspect the drill point, flutes, chips, and exit support. Second, restore stability by clamping the work, correcting runout, and improving the hole start if wandering is involved. Third, restore cutting by using a sharp edge, steady feed, and lubrication aimed where chips actually form. On deeper holes, chip-control strategy matters even more. The chip-evacuation source notes that through-coolant becomes especially important beyond about 5xD, because clearing heat and chips gets much harder as the hole deepens.
That same logic helps when tapping aluminum starts damaging an aluminum thread. In many cases, the drill created the problem first. A rough entry, packed chips, or smeared walls can carry straight into the next operation. Fix the hole, then judge the thread. Persistent defects across drilled, tapped, and finished parts usually point to something larger than one tool or one cycle, which is exactly where the broader production workflow starts to matter.
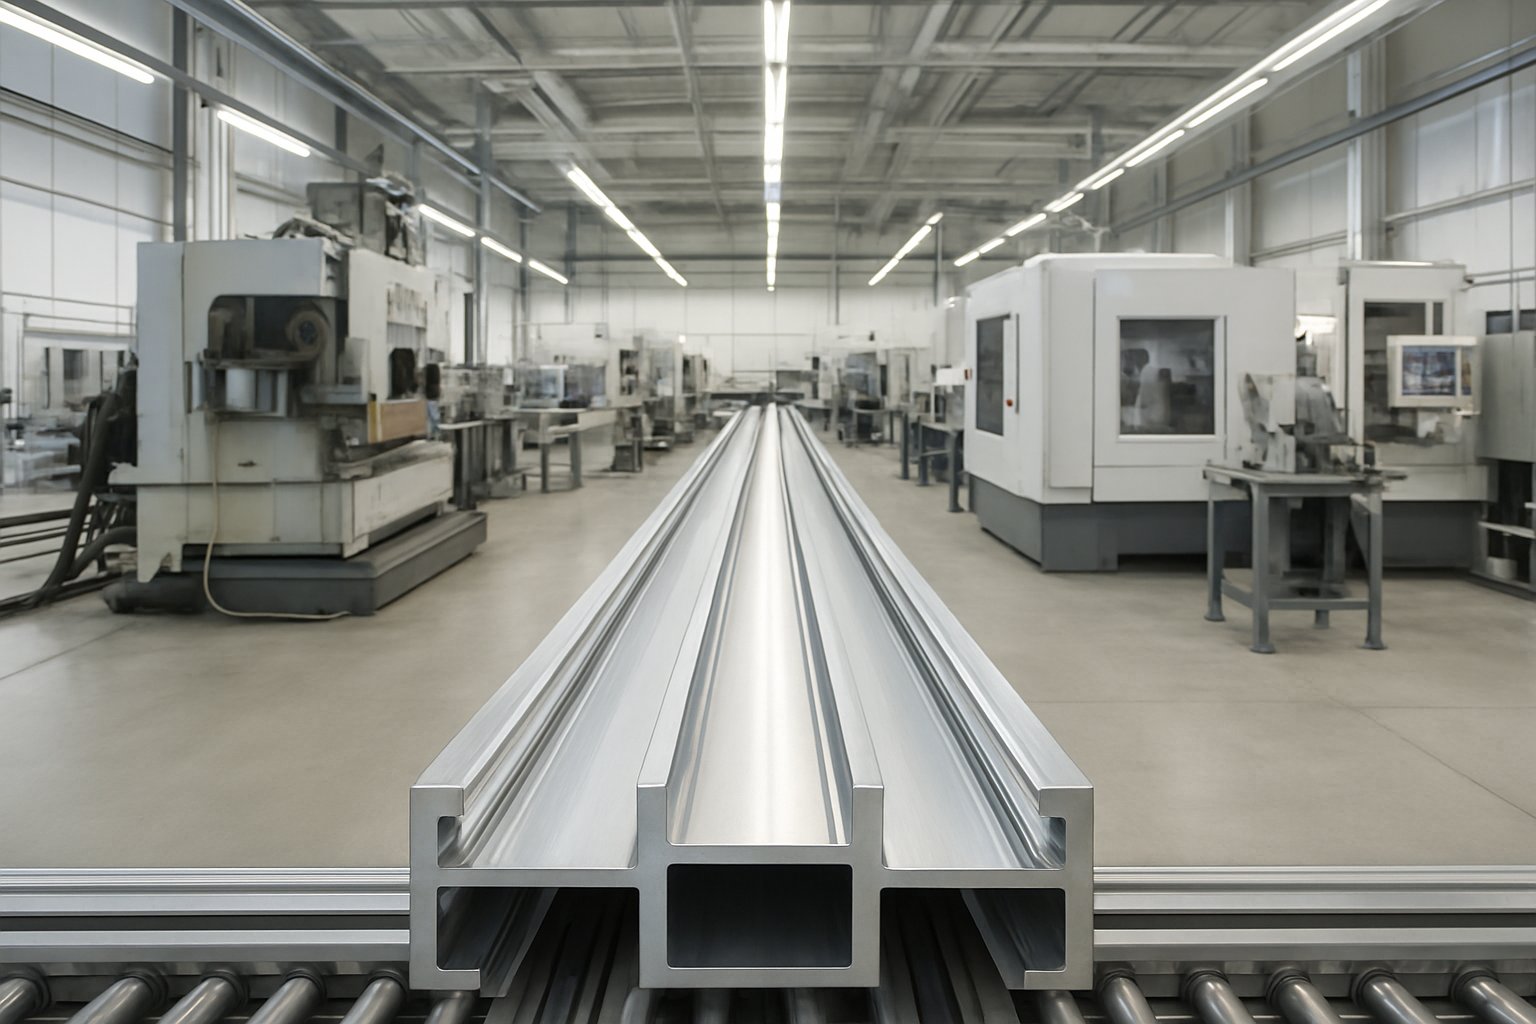
If the same hole keeps causing trouble after tapping, assembly, or coating, the drill cycle may only be one piece of the problem. On many profile-based parts, drilling sits inside a larger chain that includes extrusion, CNC secondary machining, thread creation, and finishing. In that context, hole quality is less about one tool and more about how the whole route is planned.
Extruded aluminum parts often move through several operations before they are ready for use. CNC machining is widely used in aluminum processing because it handles complex geometries efficiently, and the same source notes precision around ±0.05 mm in suitable setups. That matters when hole repeatability affects fit, fastening, and later surface treatment.
For multi-step work, a supplier should be able to connect processes, not just run isolated jobs. Process integration, CAD/CAM support, and in-house workholding all help reduce handoffs and improve repeatability. Those details matter when you are deciding the best way to cut aluminum for a real production part, not a one-off test piece.
An integrated route becomes especially useful when drilled features must stay consistent through machining and finishing. As one example, Shengxin Aluminium presents an in-house model built around more than 30 years of manufacturing experience, 35 extrusion presses, precision CNC machining, and multiple anodizing and powder coating lines. For projects in construction, automotive, and other profile-heavy applications, that kind of setup can simplify coordination from raw shape to finished component.
The practical takeaway is simple: treat each hole as part of the whole part. When extrusion shape, thread needs, machining sequence, and finish requirements are aligned early, drilling problems are far less likely to return later as rework.
The best choice depends on the setup, not just the material name on the package. For occasional shop use, a sharp HSS bit is often enough. If heat and wear become a bigger issue, cobalt HSS gives more durability. Solid carbide is better suited to rigid machines and repeat production because it keeps its shape well, but it is less forgiving in unstable setups. In practice, sharp cutting edges, good chip space, and a geometry that starts cleanly matter just as much as the bit material.
Aluminum is soft, but it is also ductile, so it can cling to the cutting edge when the drill rubs instead of shearing properly. This usually happens when speed is too high for the setup, feed pressure is too light, lubrication is weak, or chips stay trapped in the flutes. Once material starts building on the lips, the hole gets hotter, rougher, and less accurate. The fix is usually to restore real chip formation, improve chip clearing, and stop the tool before heavy buildup turns into a bigger defect.
Start with support and finish with control. Clamp the work close to the hole, use a backer under thin stock or hollow sections, and make sure the drill is sharp enough to cut rather than tear. As the tool nears breakthrough, ease the cut so it does not yank through the exit side. After drilling, remove any remaining edge lightly before the next operation. Large burrs are often a sign that the exit was unsupported, the tool was dull, or the feed changed at the worst moment.
In most cases, yes. Aluminum tends to benefit from lubrication because it helps chips slide, lowers friction, and reduces the chance of material welding to the drill. A light mist can work for open, shallow cuts. A more direct fluid application is better when holes get deeper or when repeat consistency matters. In small-shop work, a careful manual application at entry, during retracts, and near breakthrough can be enough. Fluid helps a lot, but it cannot compensate for a poor setup, a dull bit, or weak chip evacuation.
That matters when the hole is tied to more than one later process, such as threading, secondary CNC work, tight part-to-part repeatability, anodizing, or powder coating. Extrusions and hollow profiles are a common example because support, drilling order, and finishing allowances can all affect the final result. In those cases, an in-house production route can reduce handoff errors and keep the workflow more consistent. Shengxin Aluminium is one example of a supplier offering integrated extrusion processing, CNC machining, anodizing, and powder coating for projects where drilling has to fit the full manufacturing plan.


 serviço on-line
 0086 136 3563 2360
 sales@sxalu.com
 +86 136 3563 2360
 português
 English
 français
 Deutsch
 русский
 español
 العربية
 ไทย
ไทย Việt
Việt Українська